10-day free trial
PR
VPS
130Mbps से अधिक speed: ABLENET VPS पर Outline VPN बनाना
प्रकाशित: 2025.06.26
अपडेट: 2025.06.26
VPN के जरिए internet browse करना चाहने वाले लोगों की संख्या बढ़ रही है।
VPN (Virtual Private Network) security को मजबूत करता है और overseas से Japan-only services तथा content तक पहुंचने में भी मदद करता है।
लेकिन naturally speed और safety को लेकर चिंता होती है।
Safe और fast VPN connection पाने का सबसे अच्छा तरीका अपना खुद का VPN environment बनाना है। इसके लिए server environment चाहिए, और इस बार मैंने ABLENET VPS और Outline VPN का उपयोग करके VPN environment बनाया।
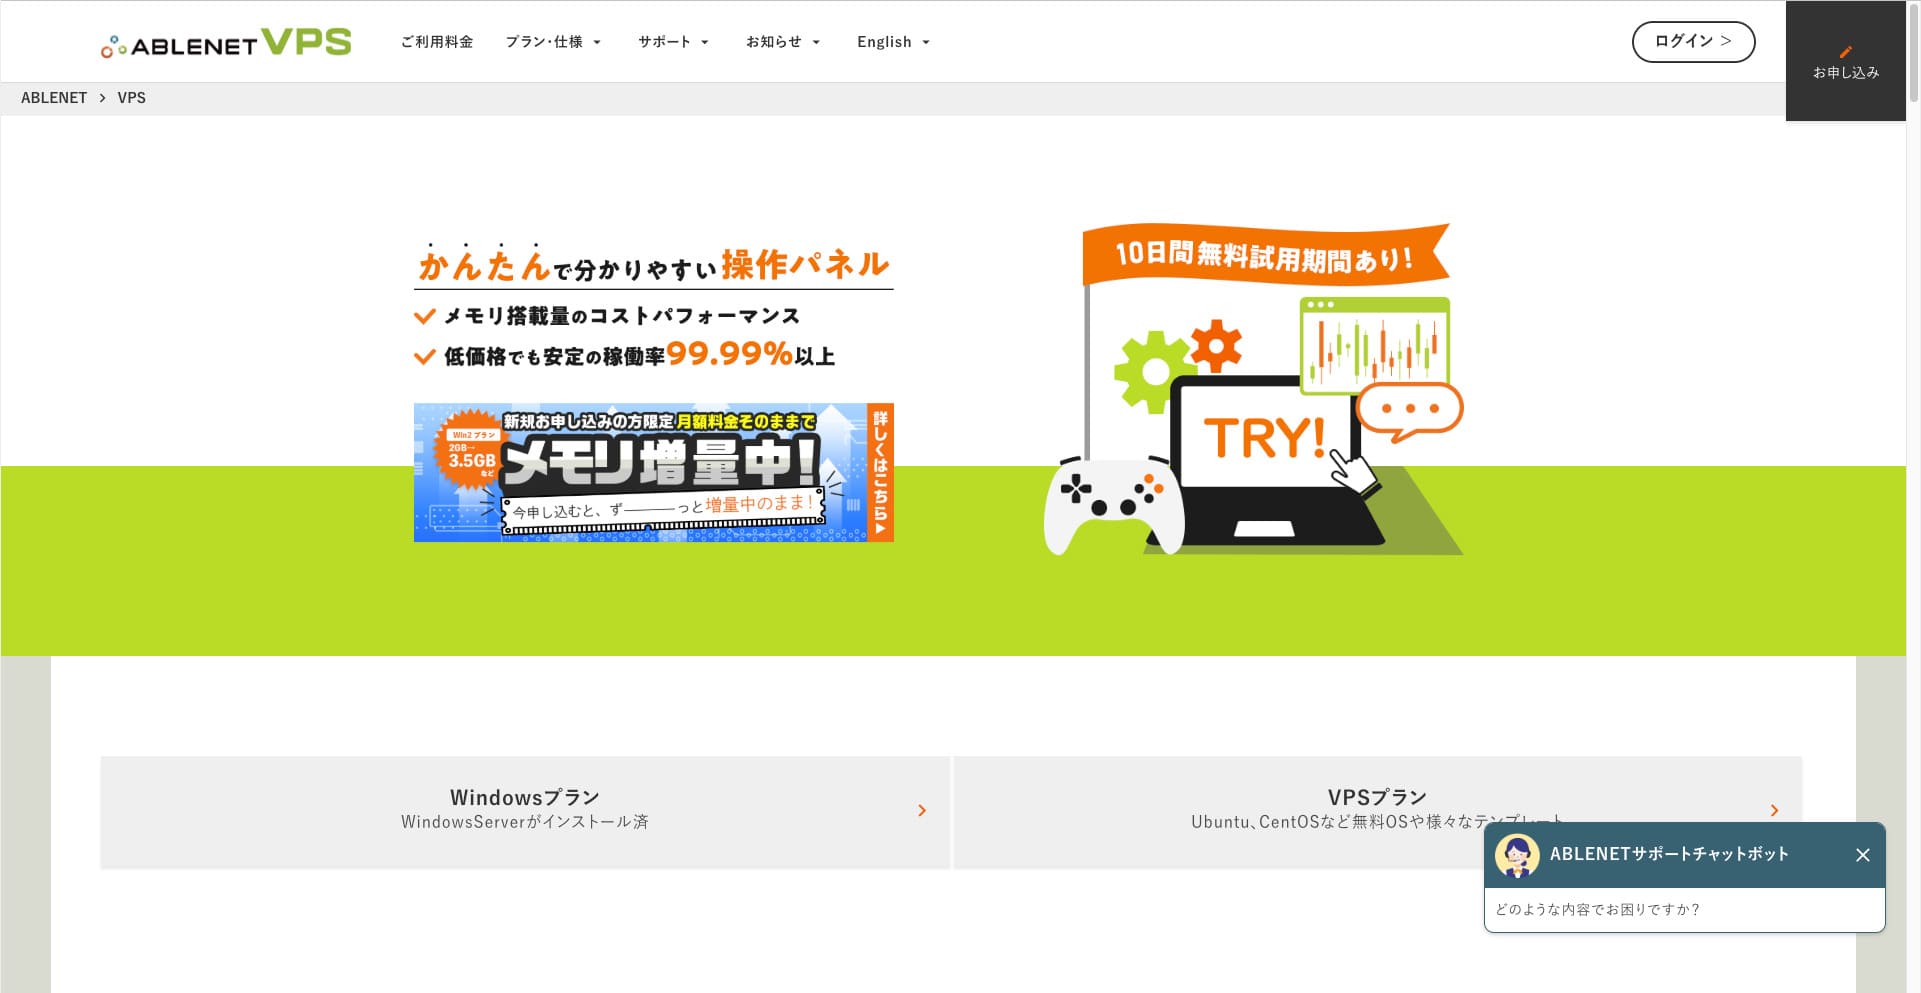
मैं ABLENET VPS क्यों recommend करता हूं
The biggest reason I chose ABLENET VPS is its stability.
- Operating history: यह Japan की long-established server companies में से एक है, जिसकी operating history 25 साल से अधिक है। VPS service भी 2011 से उपलब्ध है।
- Uptime: 99.99% से अधिक uptime measurable peace of mind देता है।
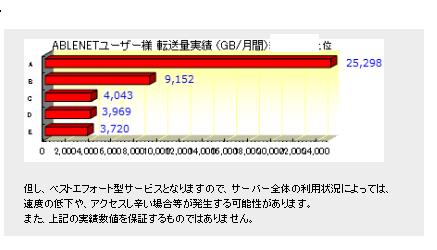
- Traffic allowance: Unlimited data transfer VPN use के लिए बहुत उपयुक्त है।
Japan में Xserver और Sakura Internet भी VPS देते हैं, लेकिन reliability के मामले में ABLENET कम नहीं है। आज unlimited transfer कई companies में standard लगता है, फिर भी ABLENET pioneers में से एक रहा है।
Hikaru Ono
This information appeared on the official site in the past, but it seems there was even a power user on ABLENET who used 25TB in a single month. You could truly say that the data transfer really was unlimited.
यदि आप movies, video content या programming work जैसी heavy data usage की उम्मीद करते हैं, तो ABLENET VPS पर अपना VPN बनाना recommend है।
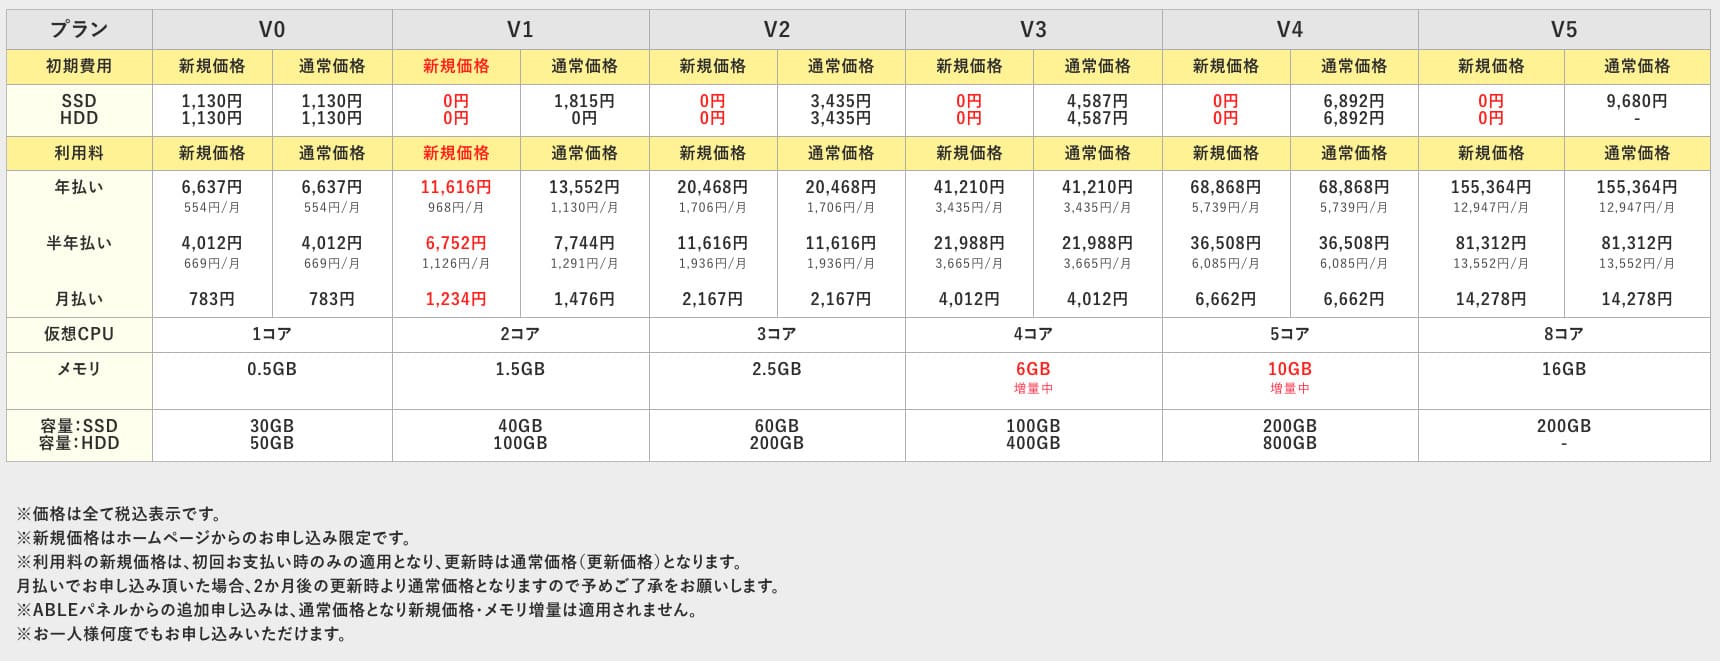
ABLENET VPS is a stable VPS with 99.99% uptime, even though it is affordably priced. It offers a wide range of plans, from the accessible V0 plan with 0.5GB of memory to the high-spec V5 plan with 16GB of memory, so you can find the right option for your needs.
Outline VPN क्या है? Beginners के लिए आसान explanation
VPN एक ऐसी technology है जो internet पर encrypted tunnel बनाती है और third parties द्वारा eavesdropping या tampering को रोकती है। VPN server के जरिए traffic route करने से real IP address छिप सकता है और anonymity बढ़ती है।creates an encrypted tunnel across the internet and prevents eavesdropping and tampering by third parties. By routing your traffic through a VPN server, it can also hide your real IP address and improve anonymity.
Outline VPN इस पूरी VPN connection process को बेहद simple बनाने के लिए design किया गया है।
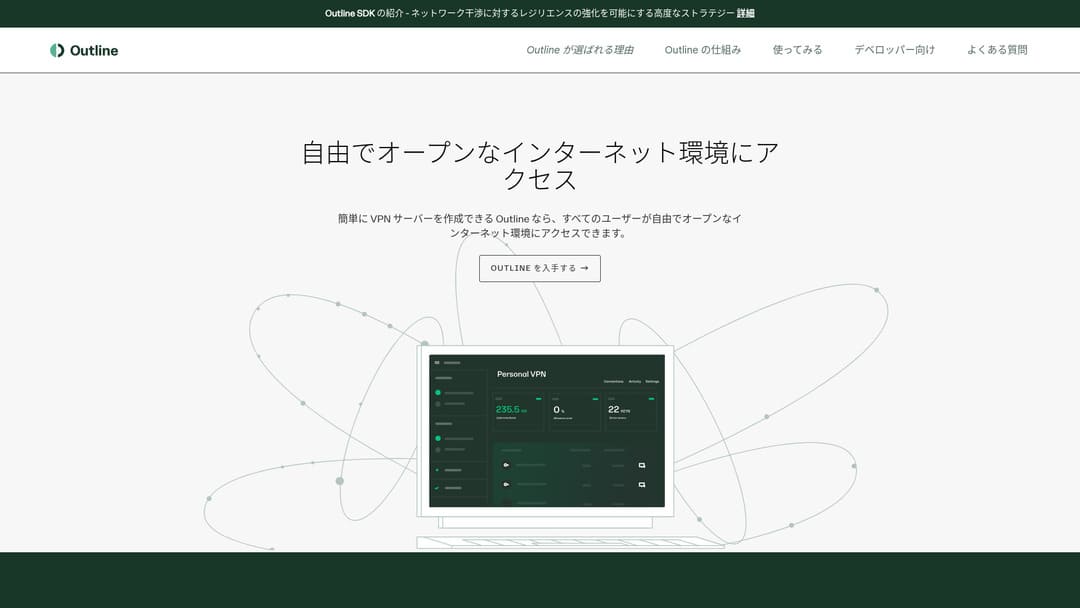
"Outline" is a free and easy application from Jigsaw, a company under Google, that lets you connect through a VPN. Even if you have never set up a VPN before, you can get started in just a few clicks.
Download from the official site
Hikaru Ono
This time, I am using Outline VPN so that anyone can build a VPN easily.
ABLENET VPS पर Outline VPN को 6 आसान steps में बनाएं
अब मैं आपको actual process बताता हूं कि Outline VPN को ABLENET VPS पर कैसे बनाया जाए।
Step 1: ABLENET VPS से शुरुआत करें
यदि आपने अभी तक ABLENET VPS के लिए sign up नहीं किया है, तो पहले account और server preparation पूरी करें।
Get Started with ABLENET VPS
- STEP.1Choose a plan on ABLENET VPS
Go to ABLENET VPS and click "Apply."
You can choose either a Windows plan or a VPS plan. For this VPN setup, use the VPS plan. I recommend the V1 plan with no initial fee and fast SSD storage.
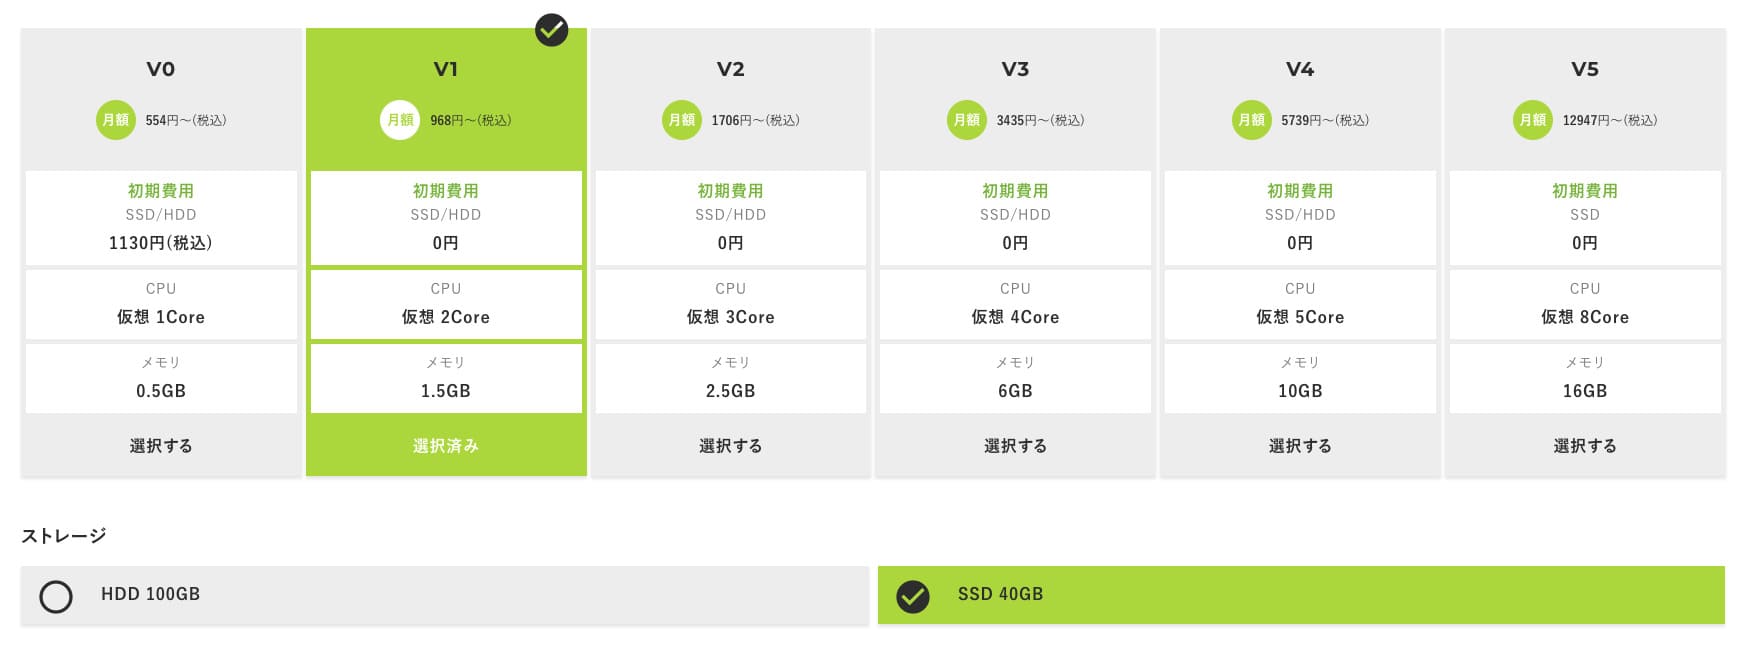
Start with the V1 plan, and if it feels underspecified later, upgrade to V2 or V3. After your service begins, you can request a spec upgrade from the ABLE panel.
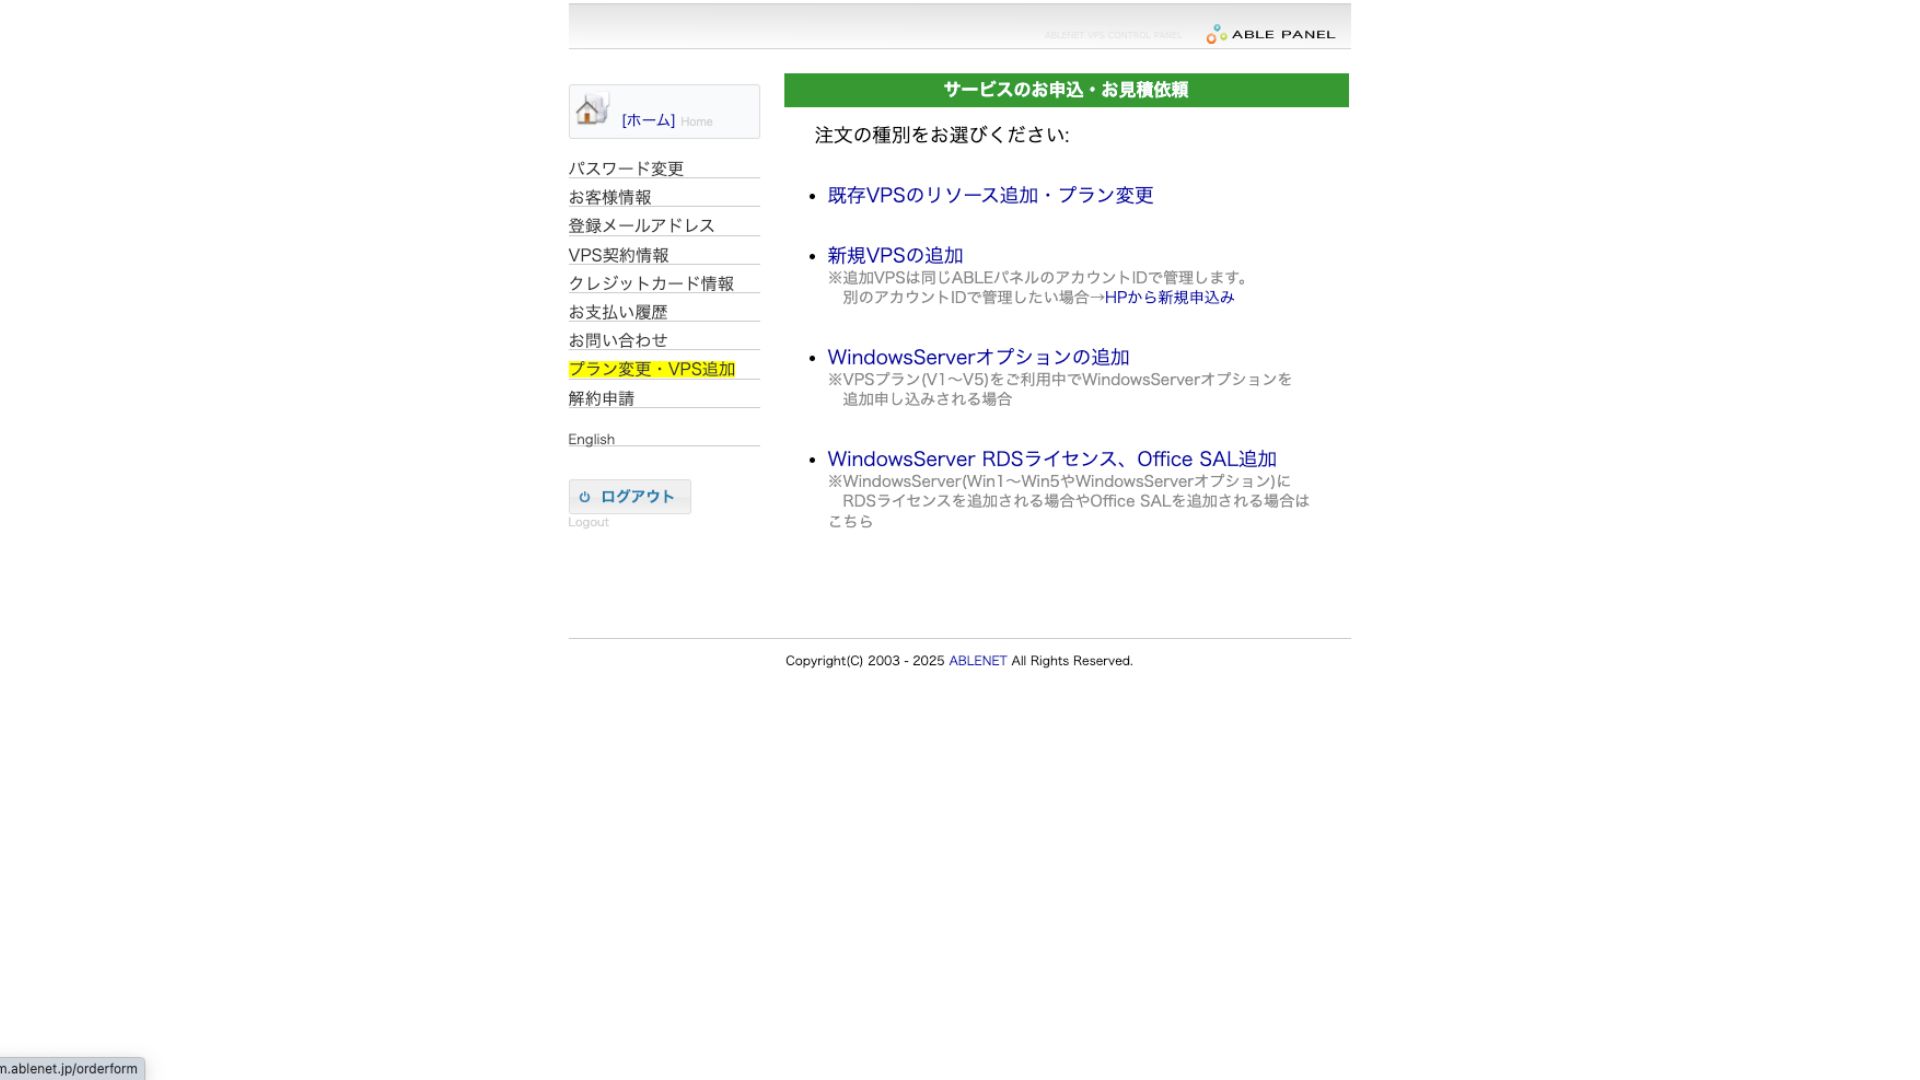
For the payment method, using the credit-card trial period is fine.

Review the terms of use and check the box.
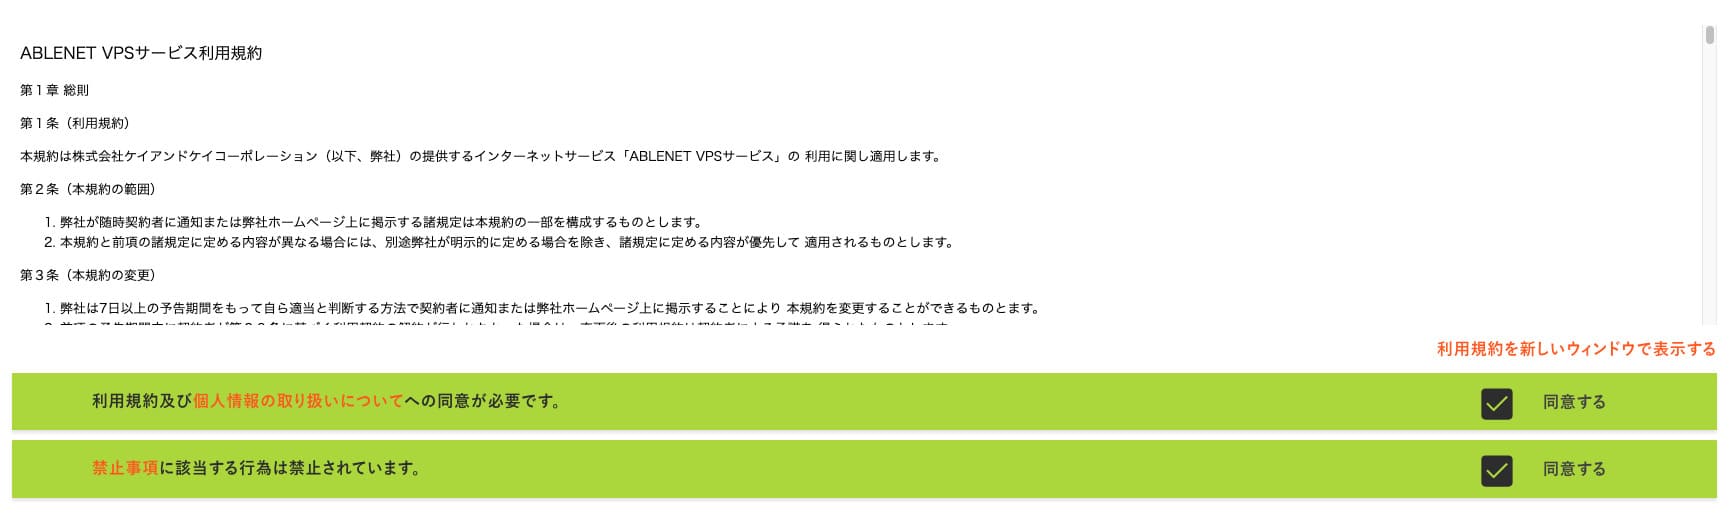
Click "Proceed to select the contract term."
- STEP.2Select the contract term
An annual contract is the better deal for the server term. Since we are using the VPS plan this time, no options are needed.
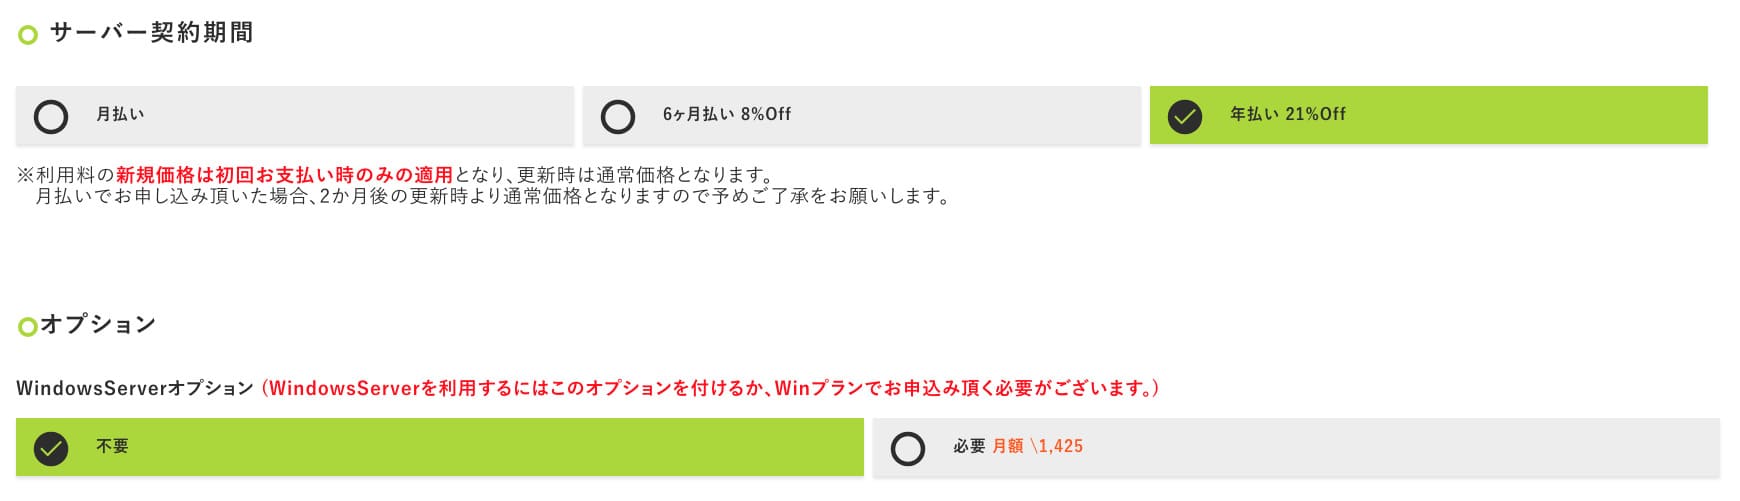
After filling it in, click "Proceed to the estimate screen." Review the estimate, and if everything looks fine, click "Proceed to enter applicant information."
- STEP.3Enter applicant information
Enter your name, address, and other applicant details. Continue to the order review screen and submit the application.
- STEP.4Enter payment information
If you are paying by credit card, enter the cardholder information and other required details. If everything is correct, click "Confirm order" to submit.
Once you receive the email with your VPS information, the application is complete.
Step 2: Outline Manager install करें
इसके बाद अपने computer पर Outline Manager install करें ताकि आप VPN server को configure और manage कर सकें।
Install Outline Manager
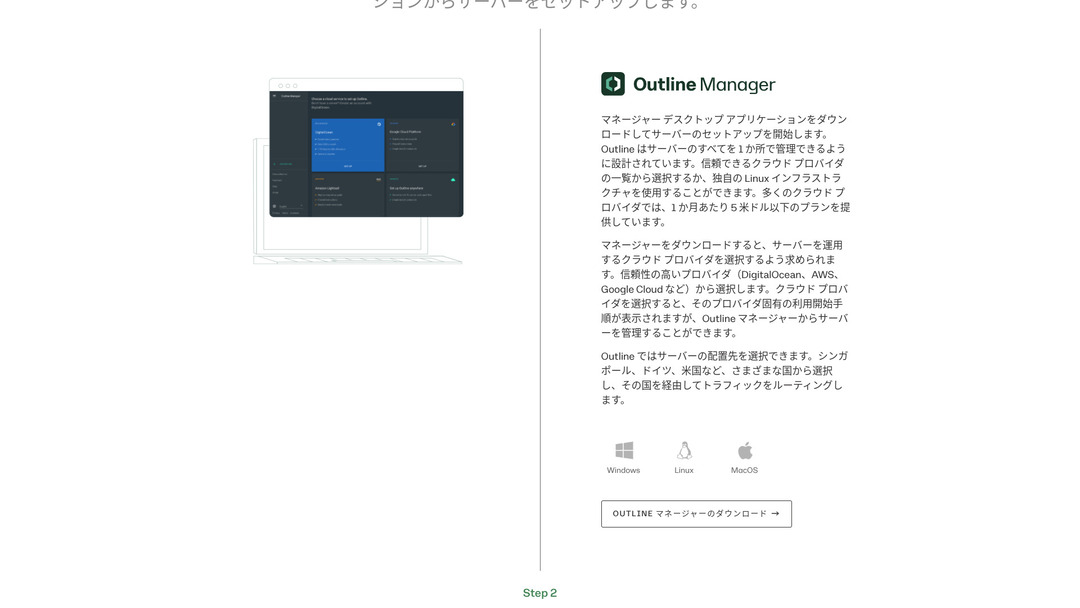
- STEP.1Visit the official Outline site
Go to Outline.
- STEP.2Download Outline Manager
From the "Get Outline Manager" section, download the version of Outline Manager that matches your computer's OS (Windows, macOS, or Linux).
- STEP.3Install
Run the downloaded file and follow the on-screen instructions to install Outline Manager.
Step 3: Outline Manager से VPS पर Outline server बनाएं
Outline Manager का उपयोग करके ABLENET VPS पर Outline server install करें।
Build an Outline Server on Your VPS with Outline Manager
- STEP.1Launch Outline Manager
After installation is complete, launch Outline Manager.
- STEP.2Click "Set up server"
When you launch it for the first time, the server setup screen appears. Click "Set up server."
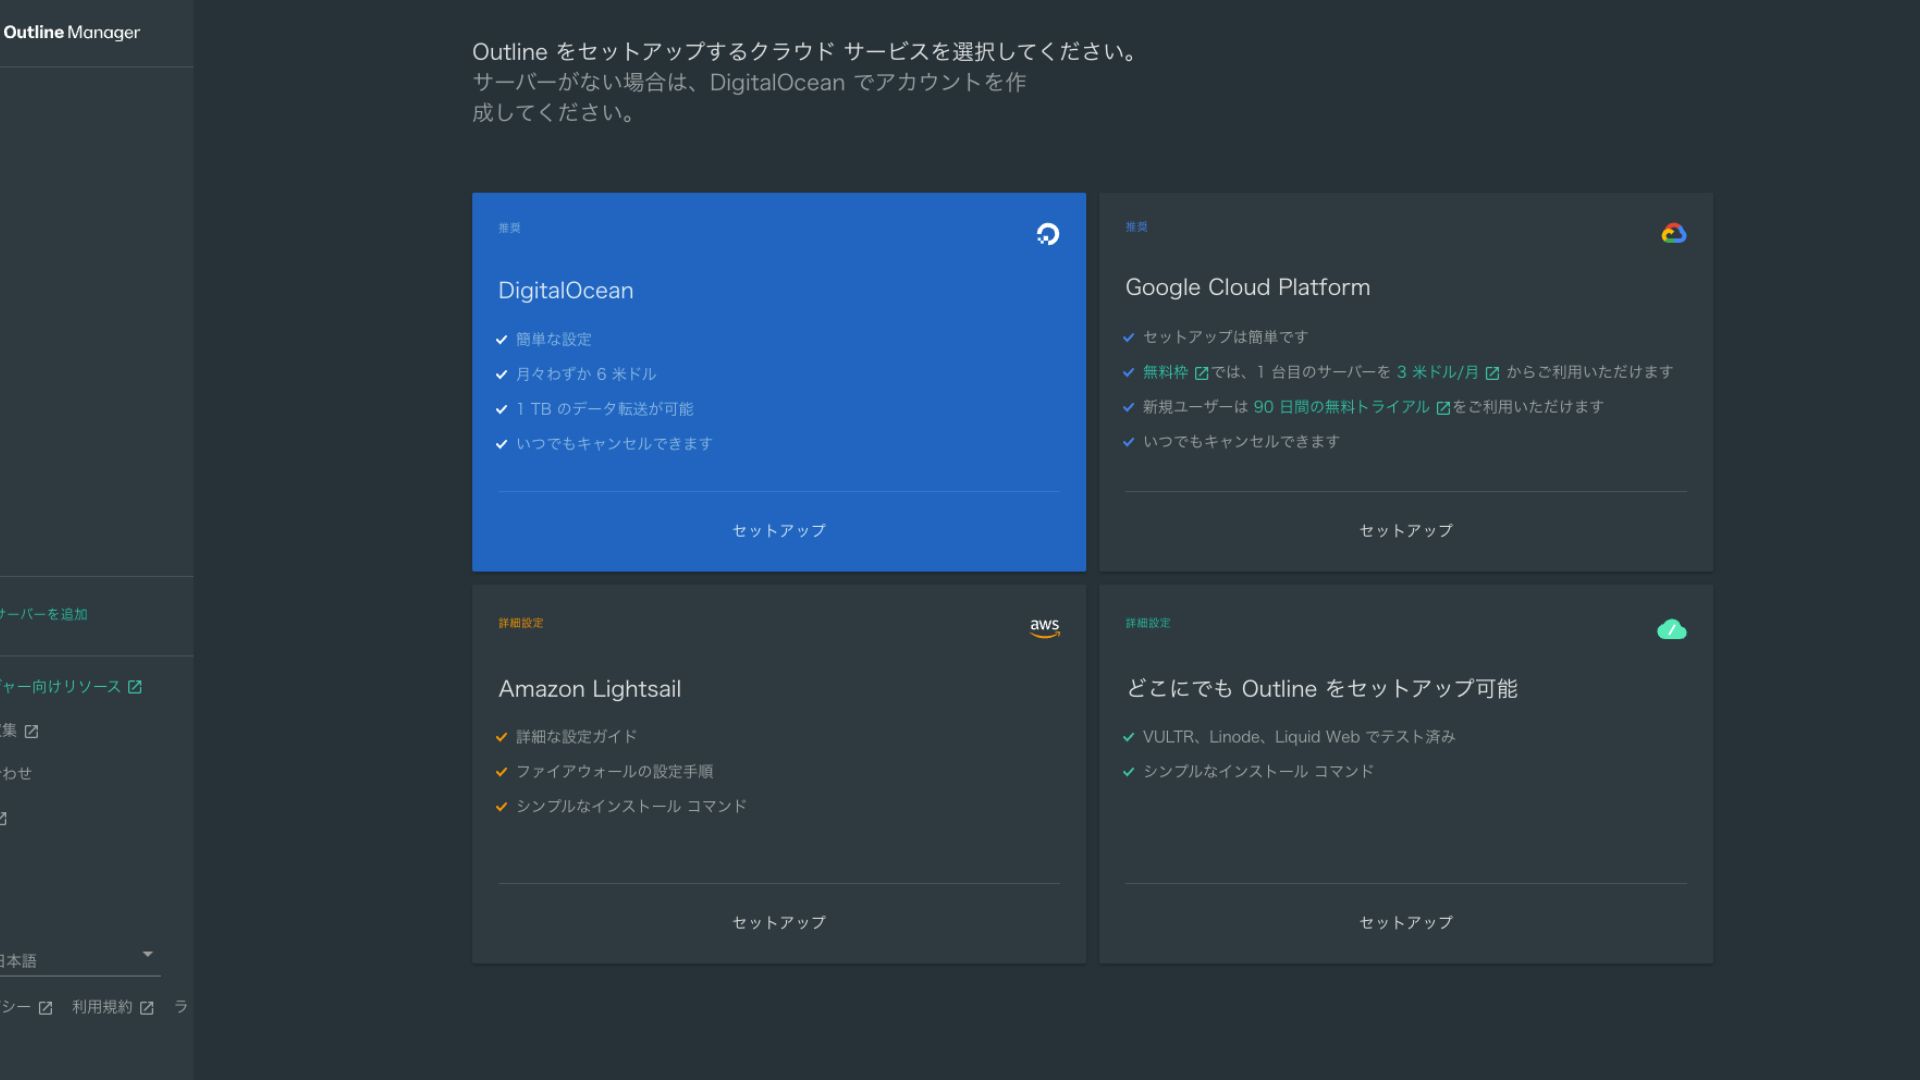
- STEP.3Select "Set up Outline anywhere"
You will see the cloud provider selection screen. Choose "Set up Outline anywhere."
- STEP.4Enter the installation command
The screen displays the command used to install the Outline server on your VPS. Enter this command manually.
 Hikaru Ono
Because you cannot copy and paste it, be careful not to make any mistakes.
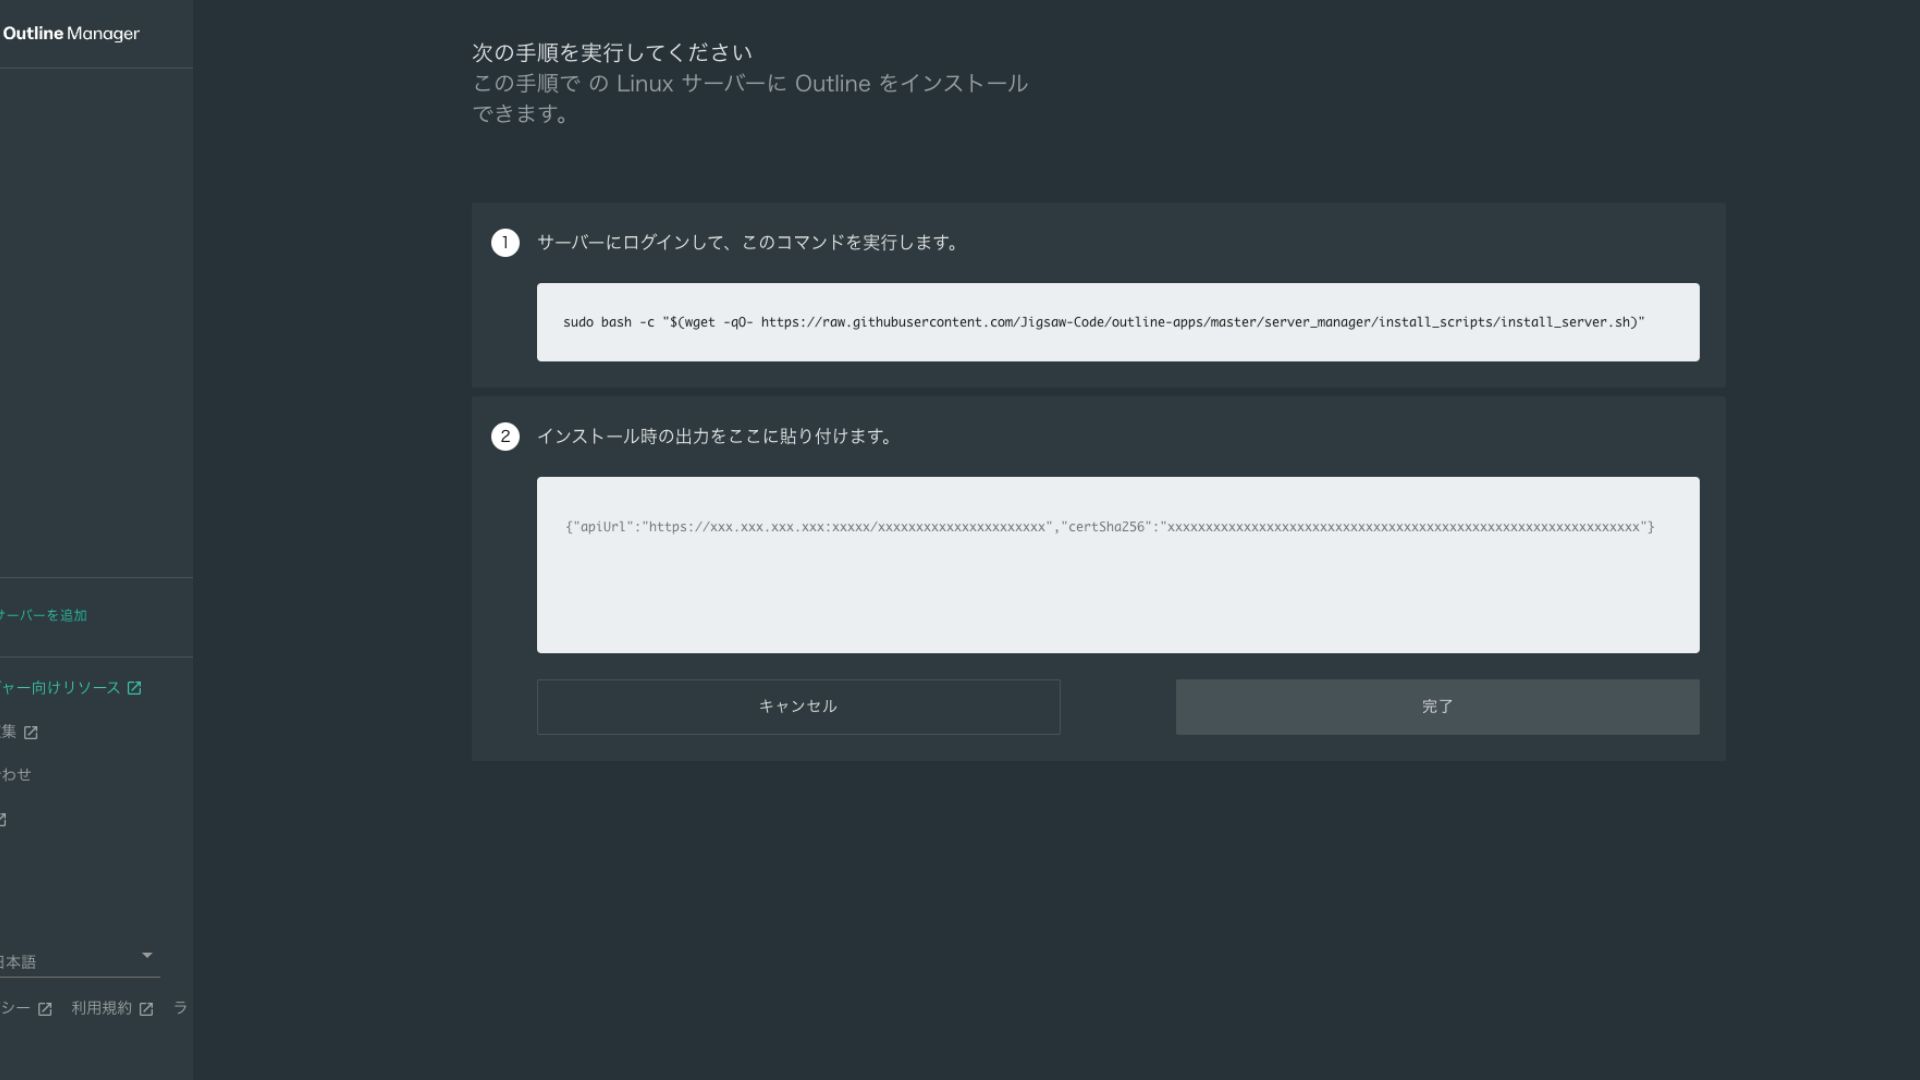
- STEP.5Run the command
- Installation can take several minutes. Watch the messages shown on screen carefully and wait until it finishes.
- You may be asked a few questions along the way, but in most cases pressing Enter to accept the default choice is fine.
- STEP.6Enter the information in Outline Manager
After the installation is complete, Outline Manager shows a screen where you enter the "Server details."
- Admin API URL: The API URL generated during installation on the VPS is shown here. Usually it is reflected automatically in Outline Manager, but if it is not, copy and paste the API URL shown in the SSH terminal.
- Server location (optional): You can enter the server location (for example, Tokyo, Japan). This is for management only and does not affect the connection.
- STEP.7Click "Done with server"
After entering all the information, click "Done with server."
Step 4: Access key बनाएं और VPN connections को allow करें
Outline server बनने के बाद actual VPN connection के लिए access key create करें।
Create an Access Key and Allow VPN Connections
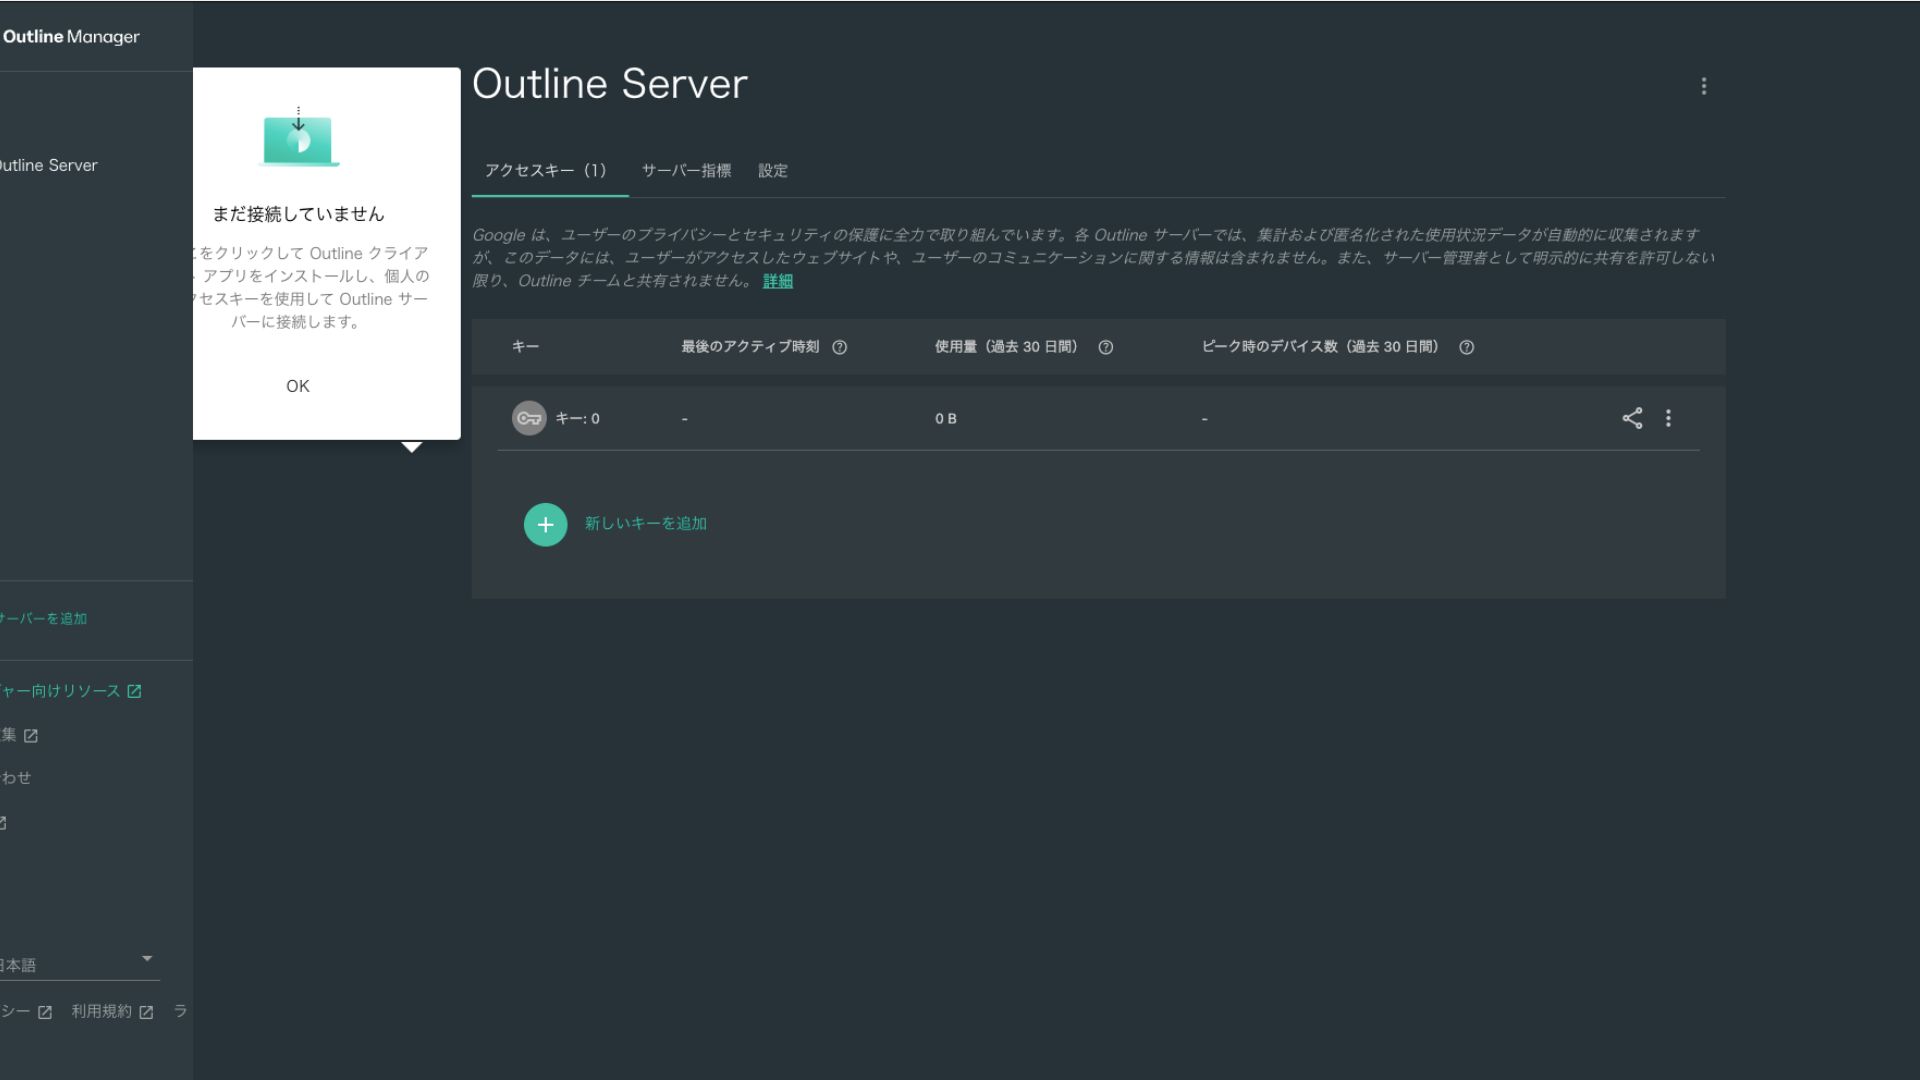
- STEP.1Check the Outline Manager screen
One default access key is displayed on the Outline Manager screen. Here, it is labeled Key 0.
- STEP.2Share the access key
The access key you created is required when connecting with the Outline client. When you select the access key, a button labeled "Share invite" appears.
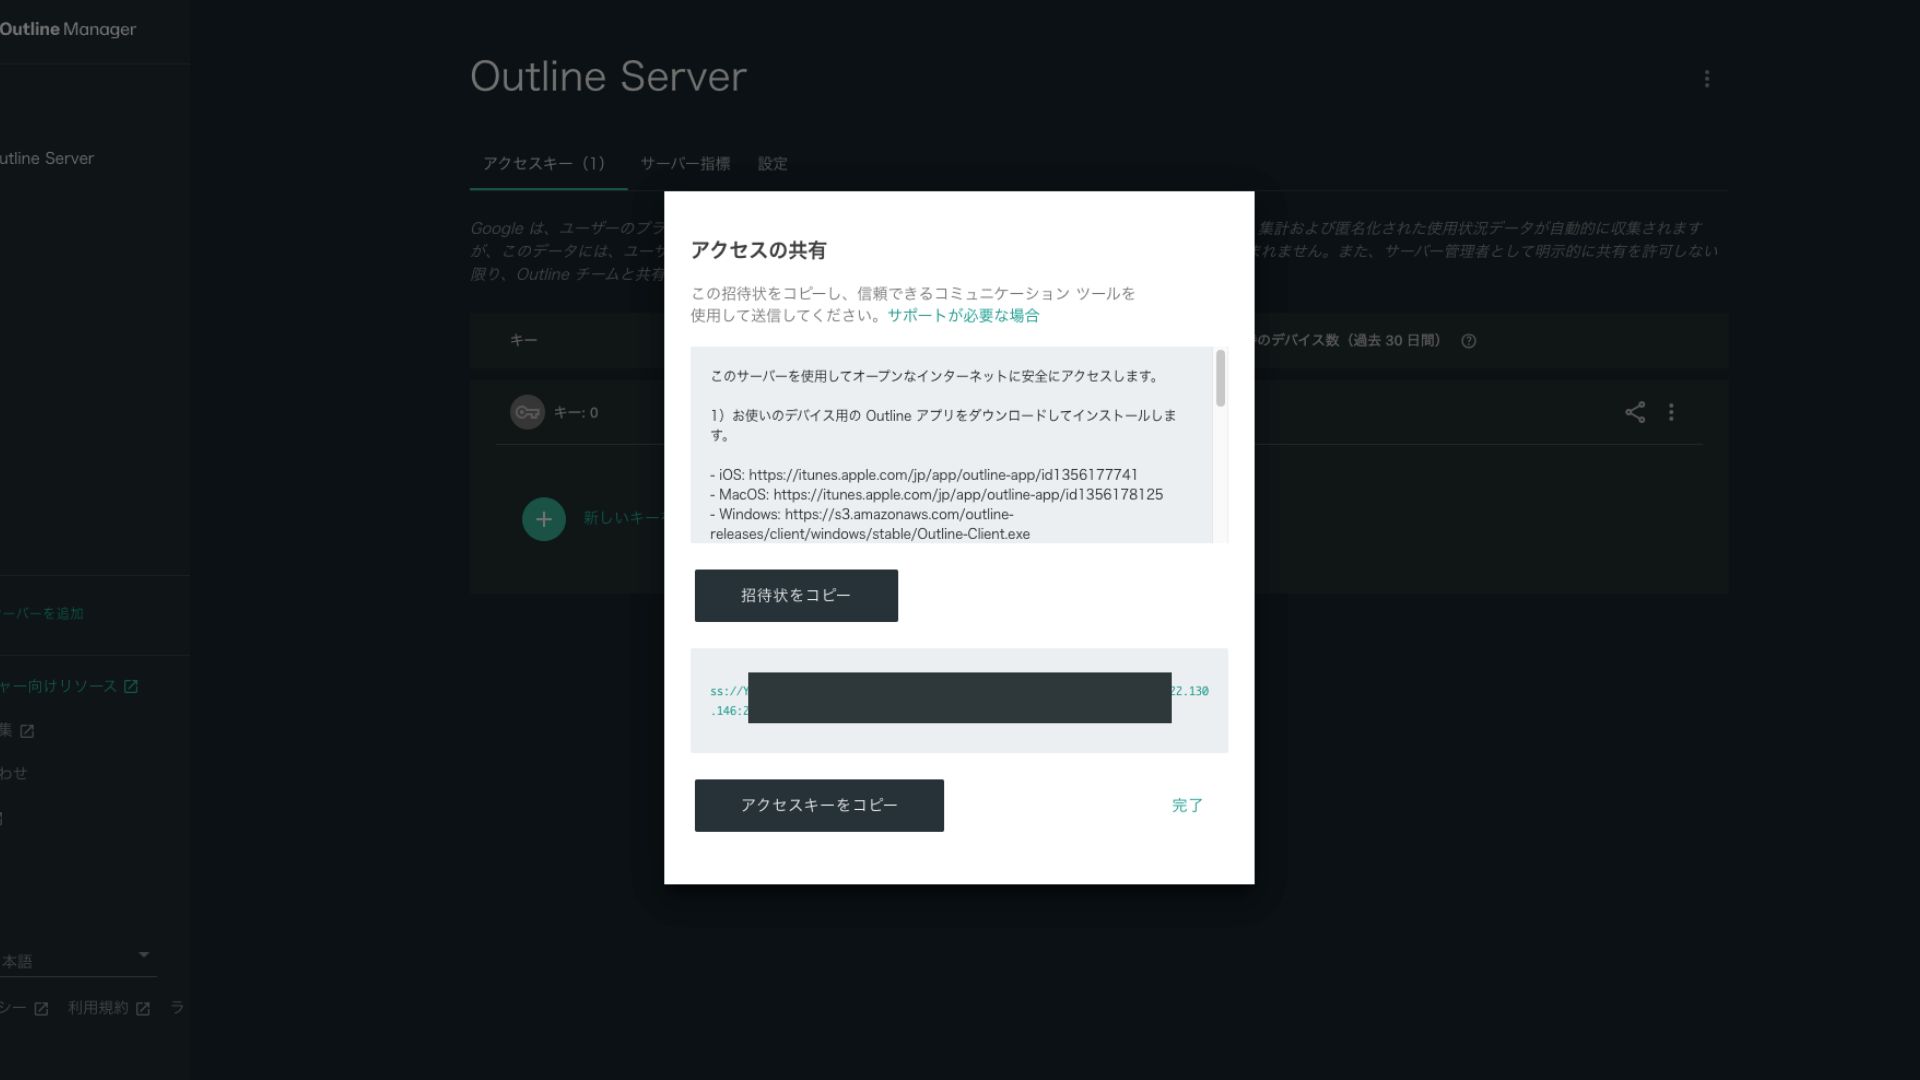
Clicking it copies the access key URL. Share this URL with the device you want to connect through the VPN.
Step 5: Outline Client install करें और VPN से connect करें
जिस device पर VPN connection इस्तेमाल करना है, जैसे PC, smartphone या tablet, उस पर Outline client install करें। इस example में Android smartphone पर install किया गया था।
Connect to Outline VPN Using the Issued Access Key
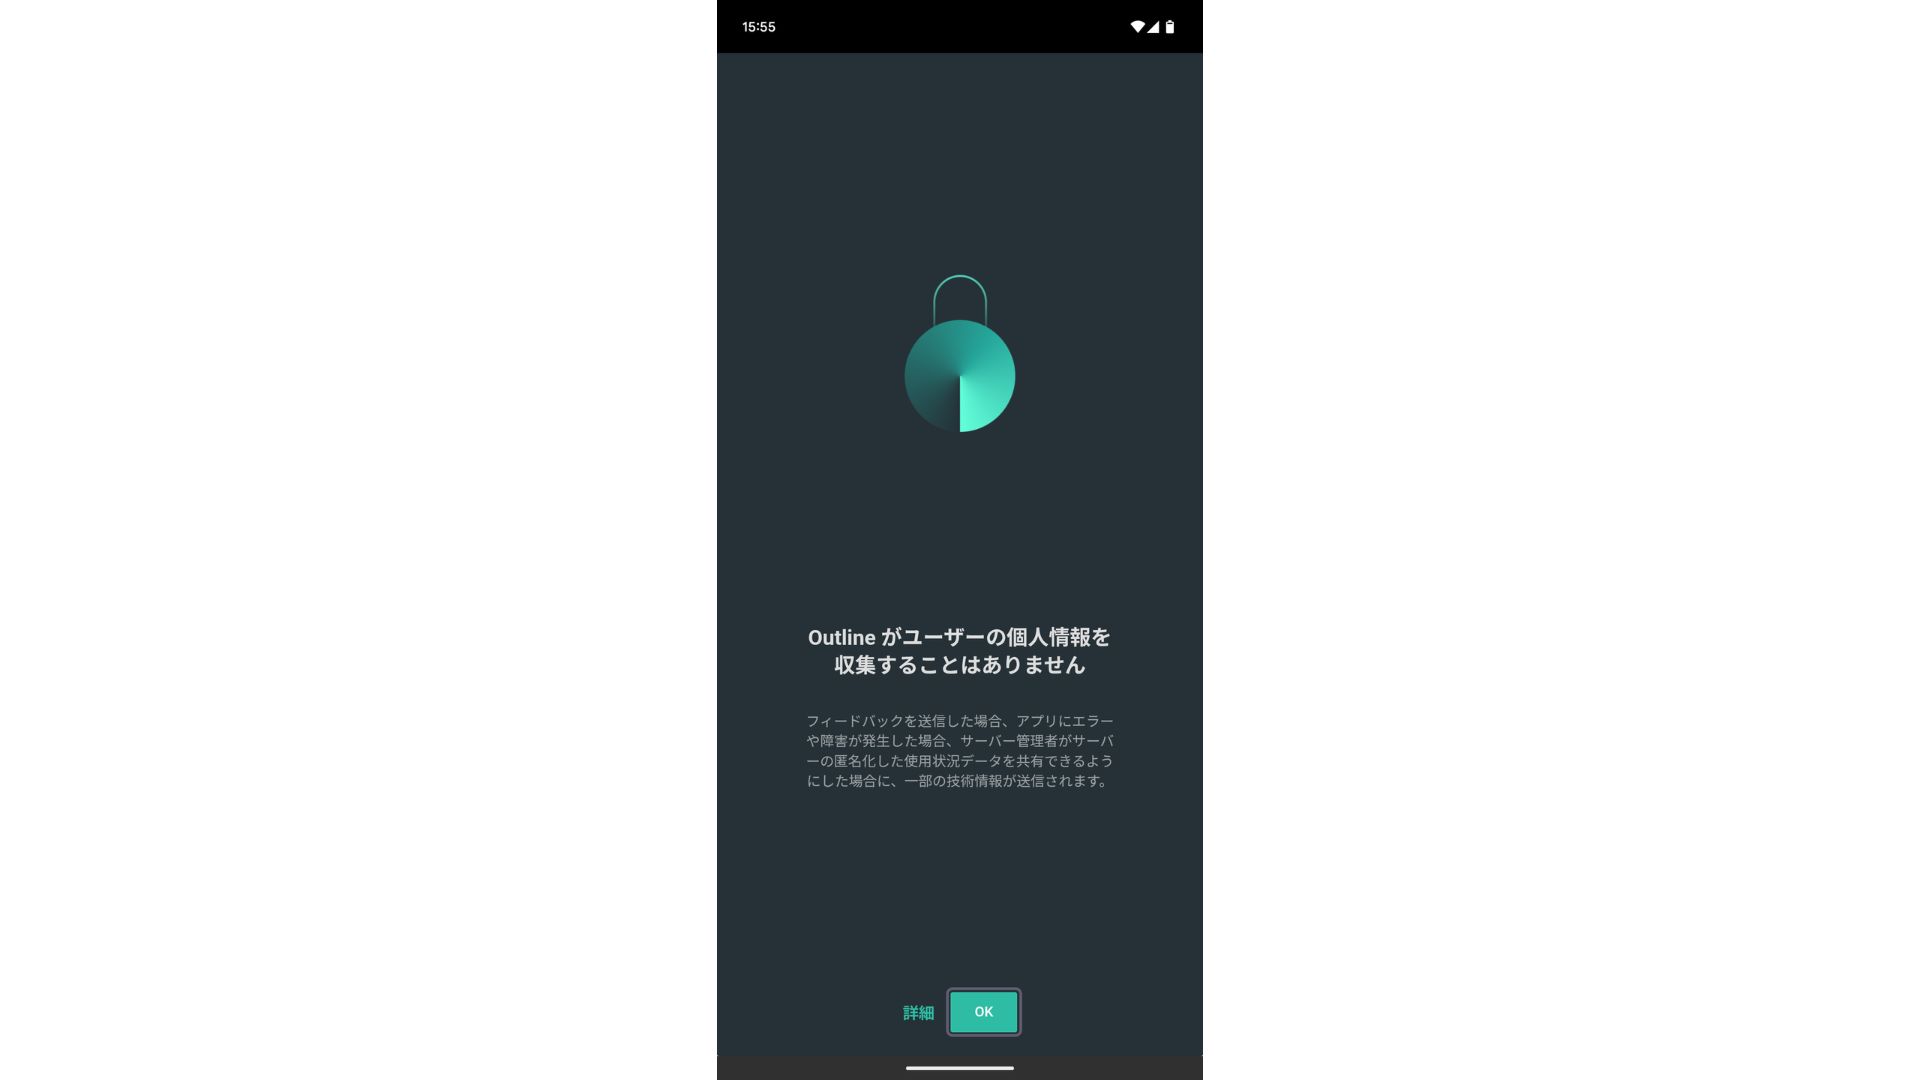
- STEP.1Launch the Outline client
Launch the Outline client you installed.
- STEP.2Add the access key
- On a PC: Click "Add server" or a similar button, paste the access key URL you copied in Step 4, and click "Add server."
- On a smartphone or tablet: When you open the app, you may be asked to enter an access key. Copy and paste the access key URL shared in Step 4. If a QR code is shown, you can scan that as well.
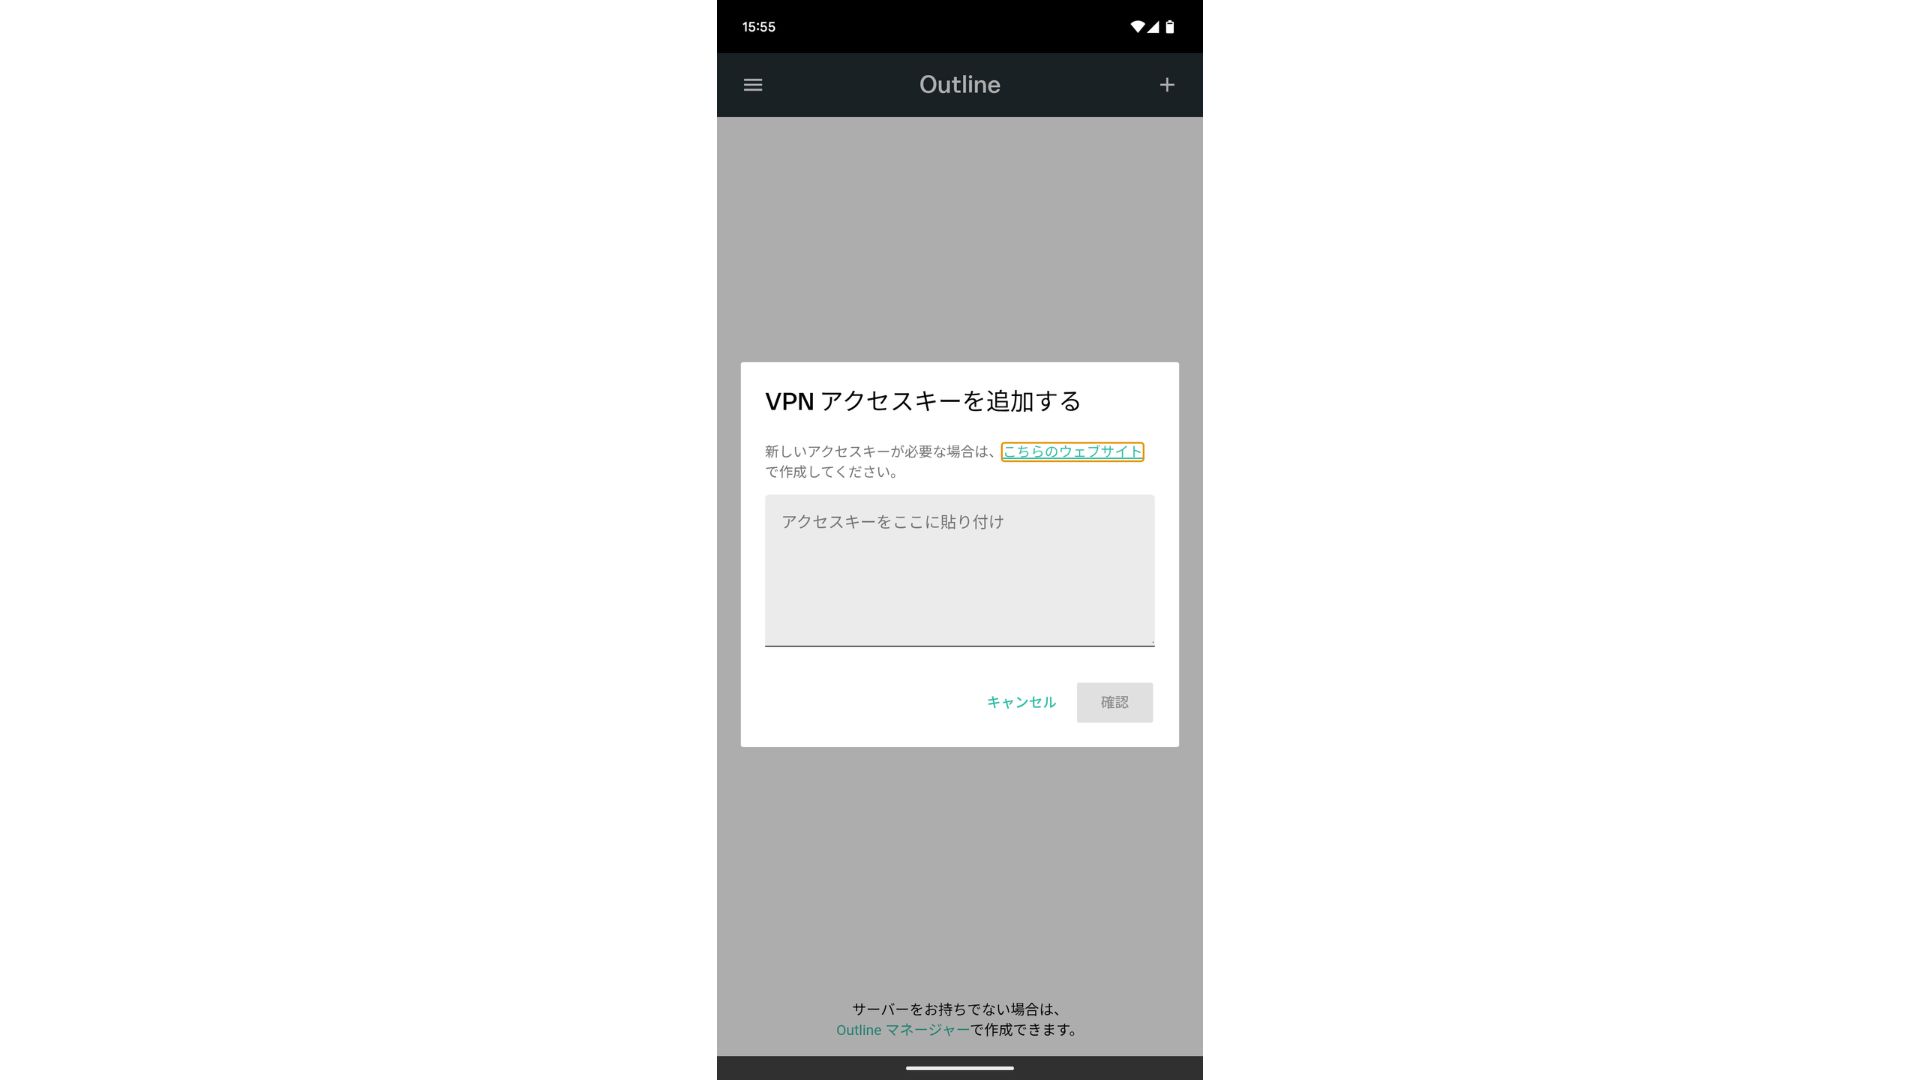
After adding the access key, press Confirm.
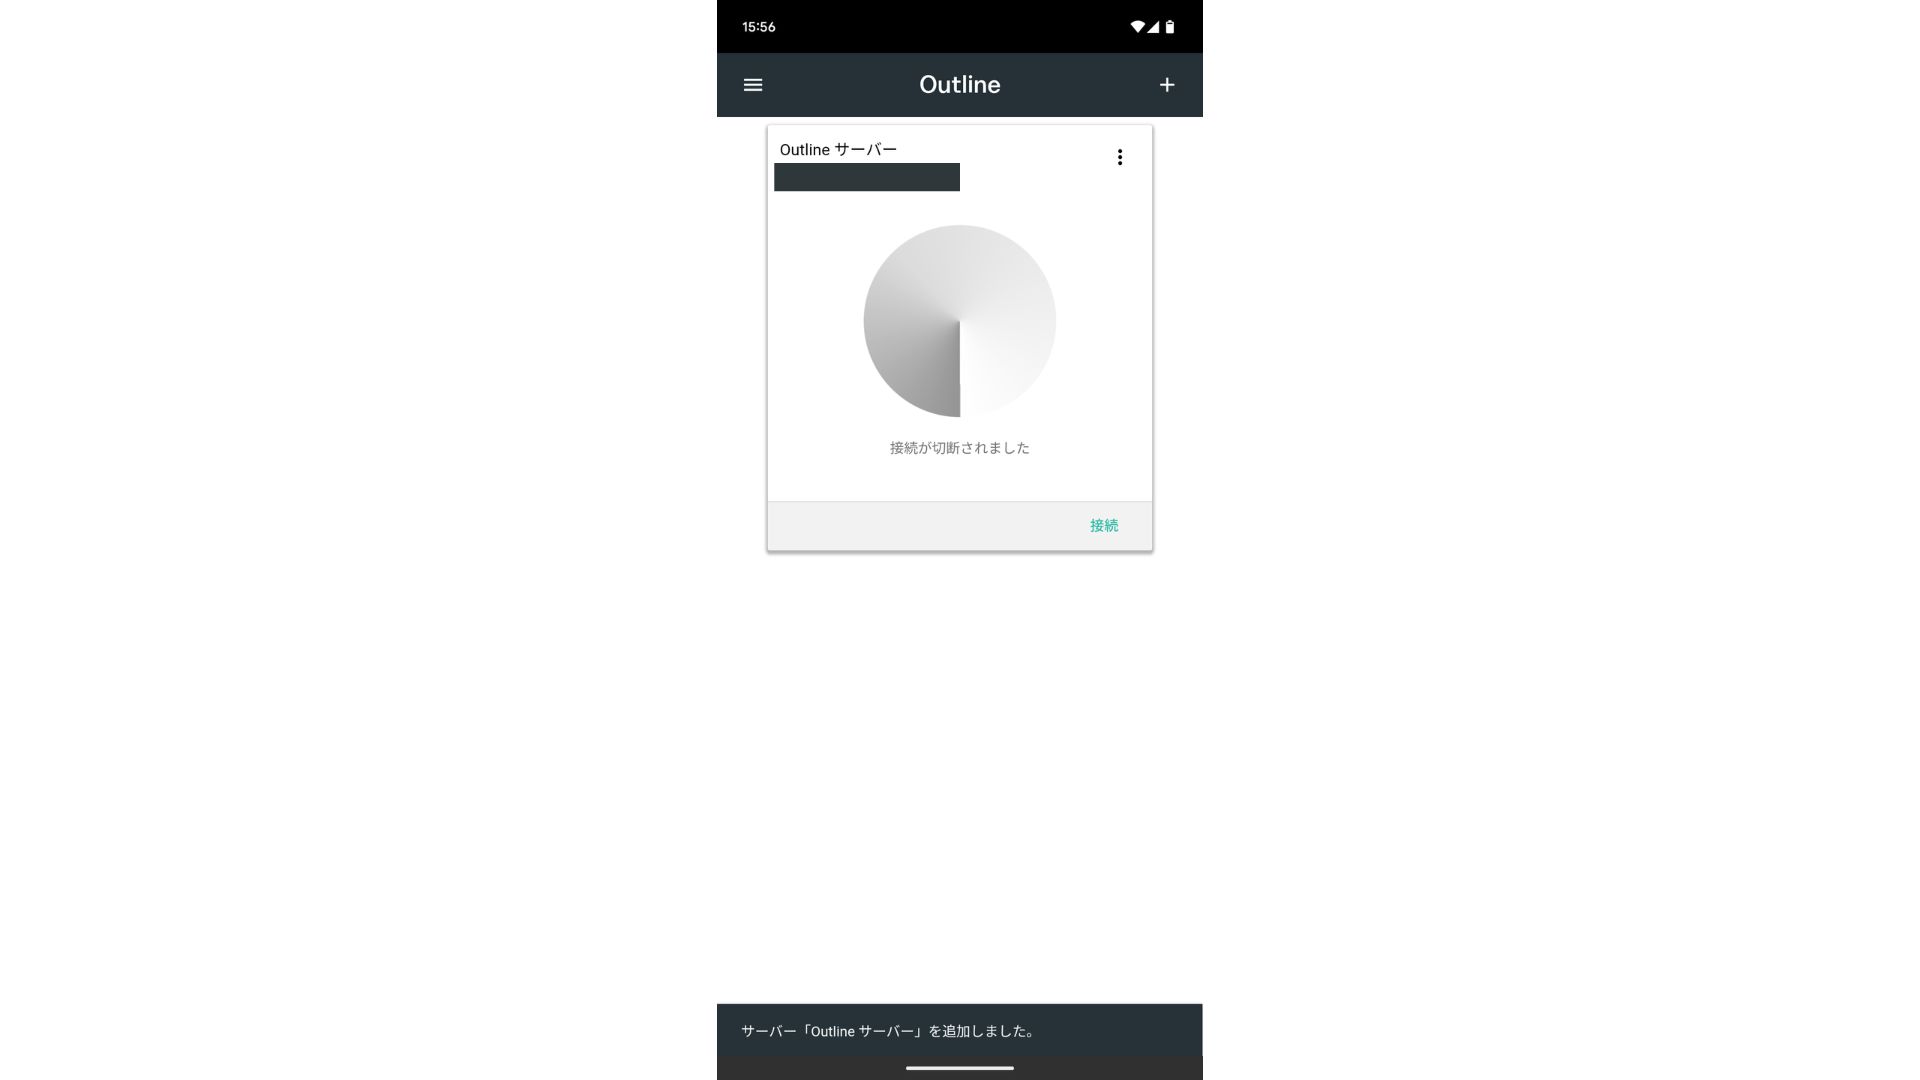
- STEP.3Connect
Once the server has been added, press "Connect."
Tap "OK" on the connection request.
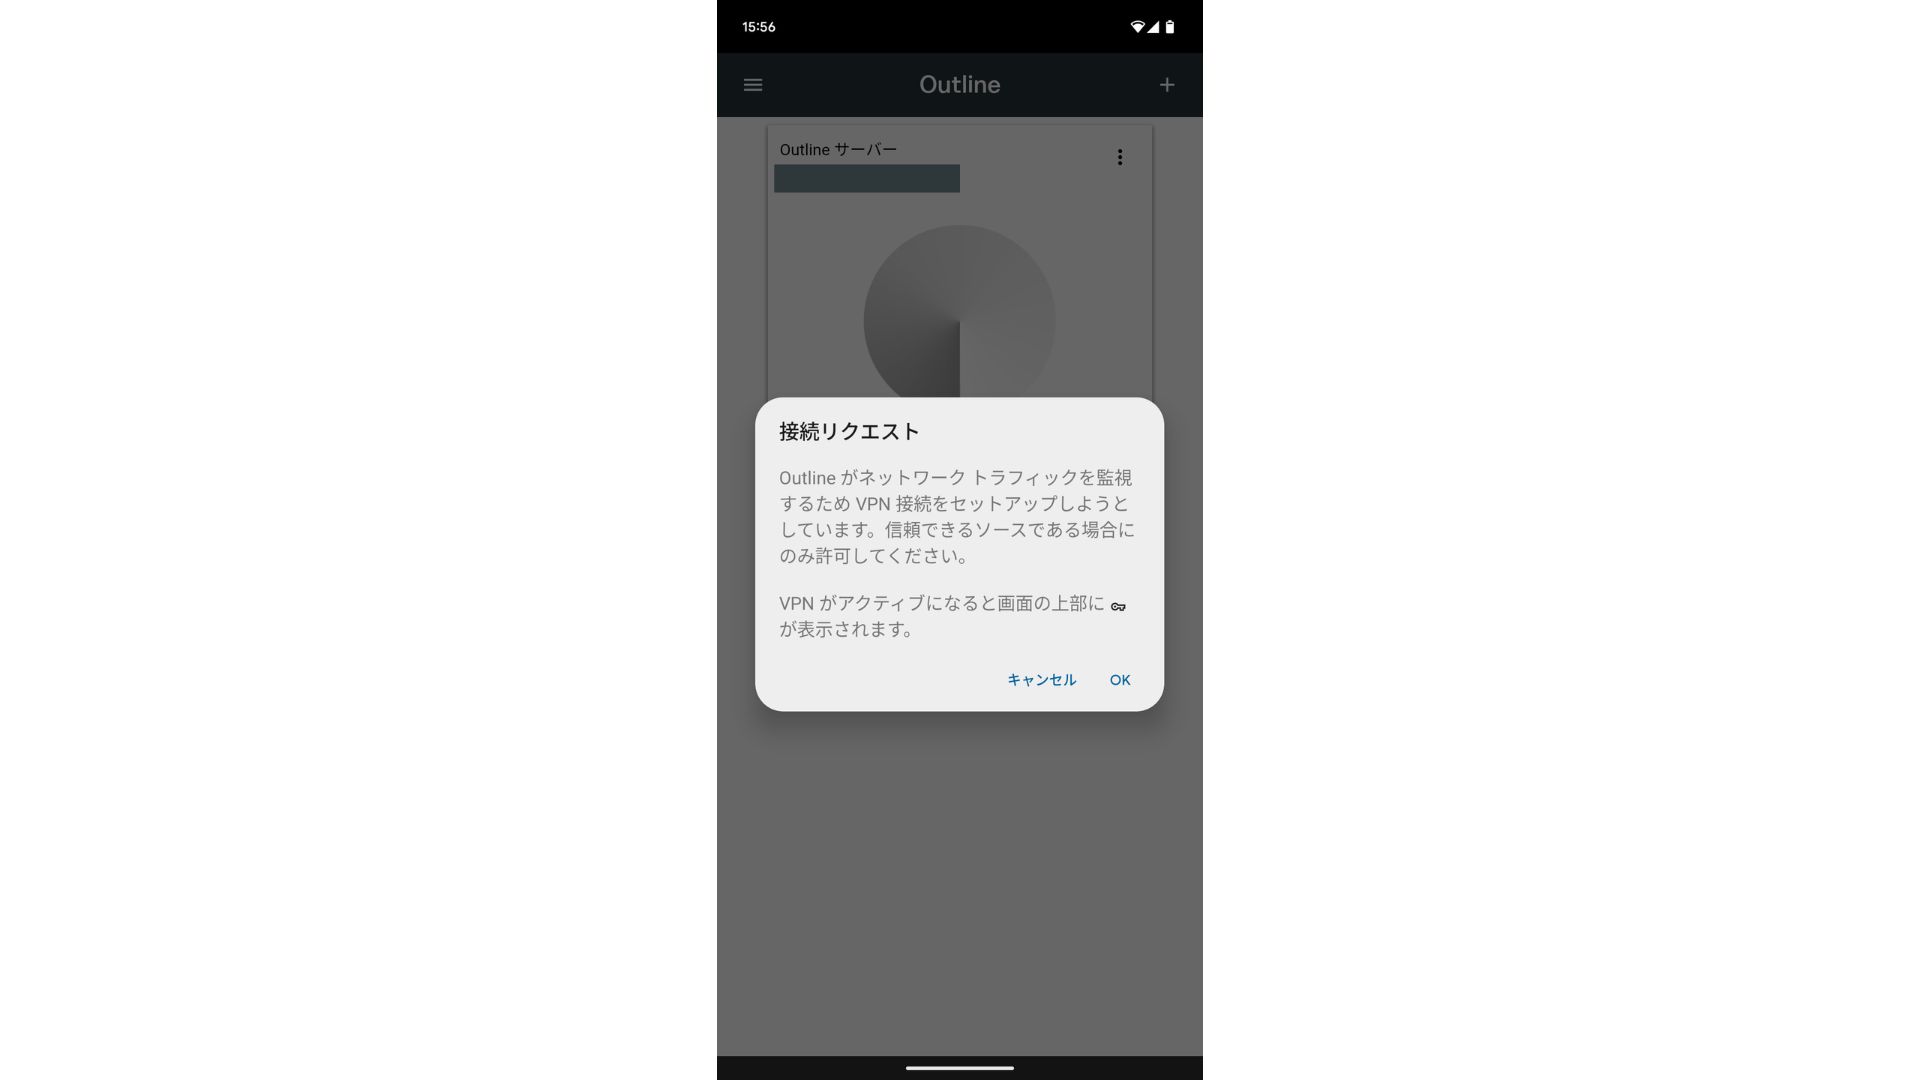
The connection is now complete.
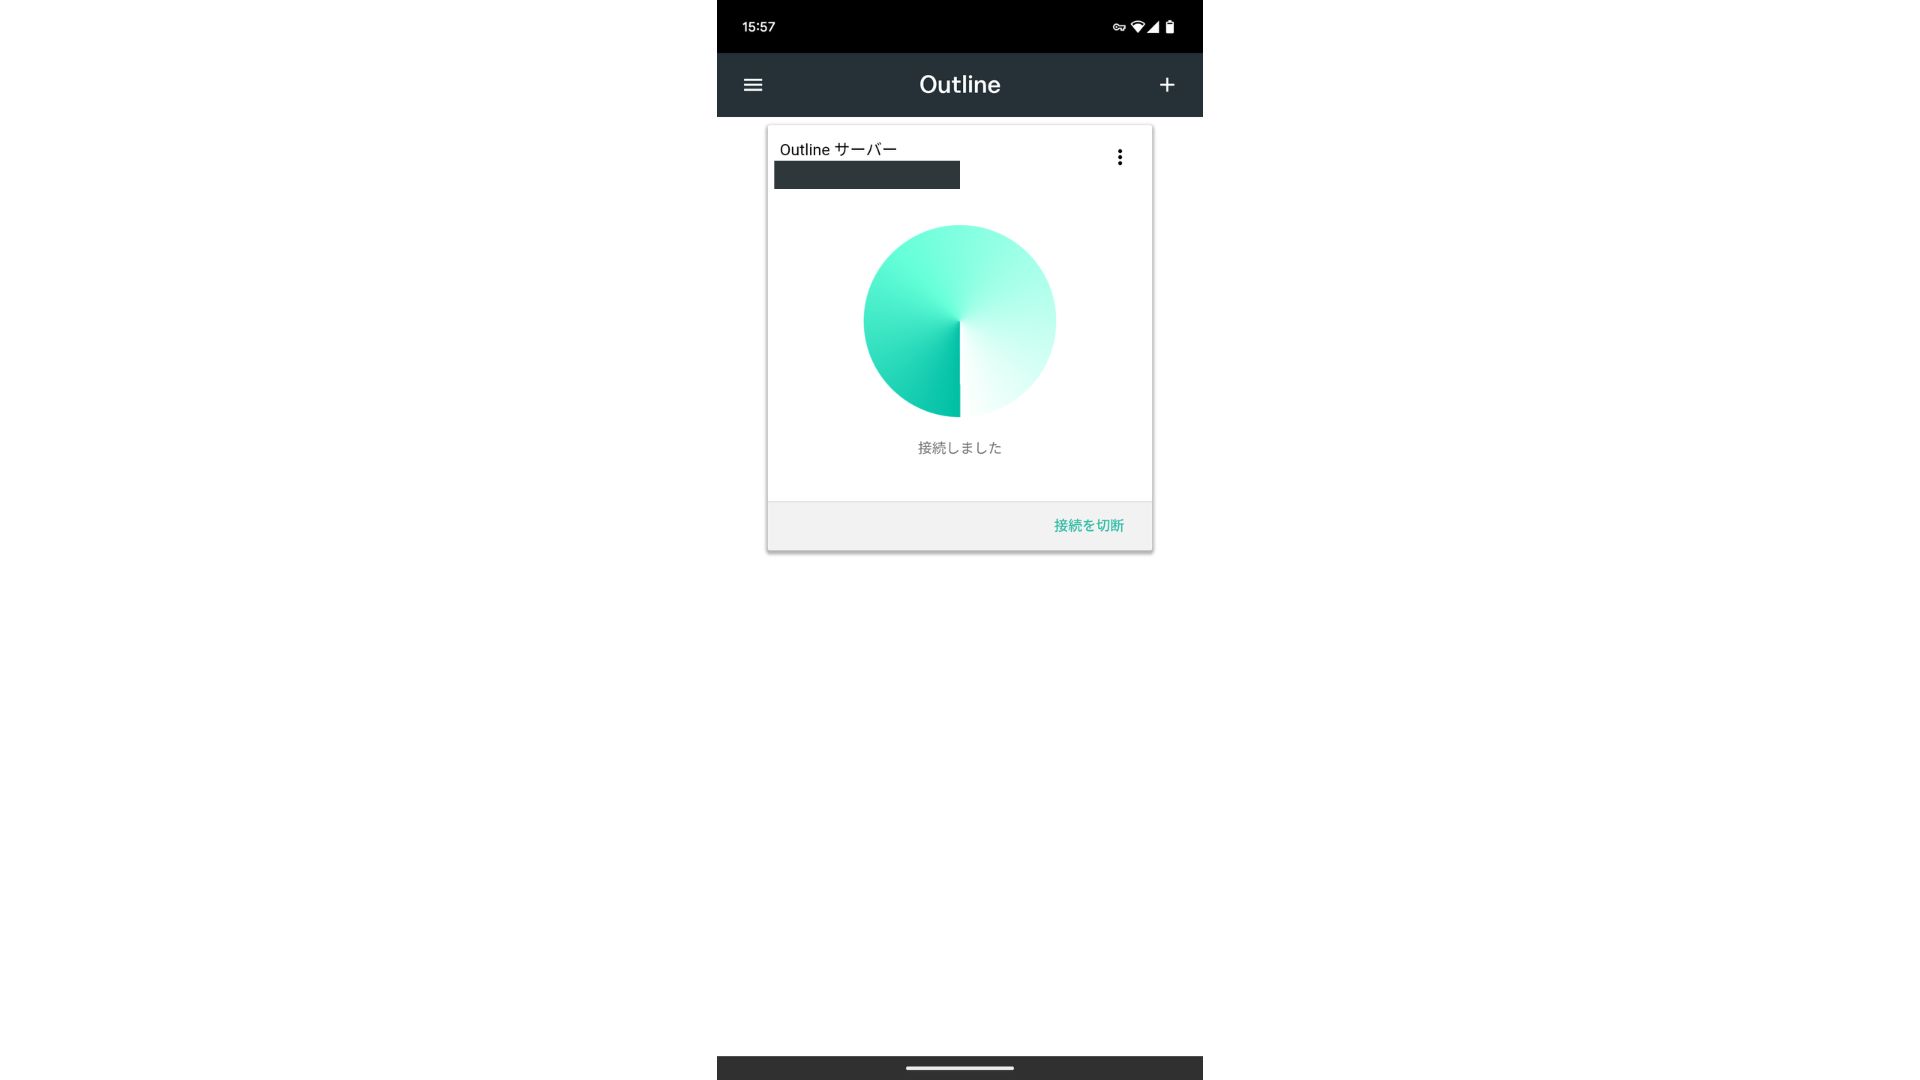
After the server is added, a Connect button appears. Clicking this button starts the VPN connection.
With that, your VPN connection using Outline VPN and ABLENET VPS is complete. Your internet traffic is encrypted, making it more secure, and it will route through the location of the server you selected.
ABLENET VPS और Outline VPN तेज़ और comfortable हैं
लोग अक्सर कहते हैं कि VPN पर internet speed धीमी हो जाती है, इसलिए यह सवाल स्वाभाविक है कि ABLENET VPS और Outline VPN कितने तेज़ हैं।
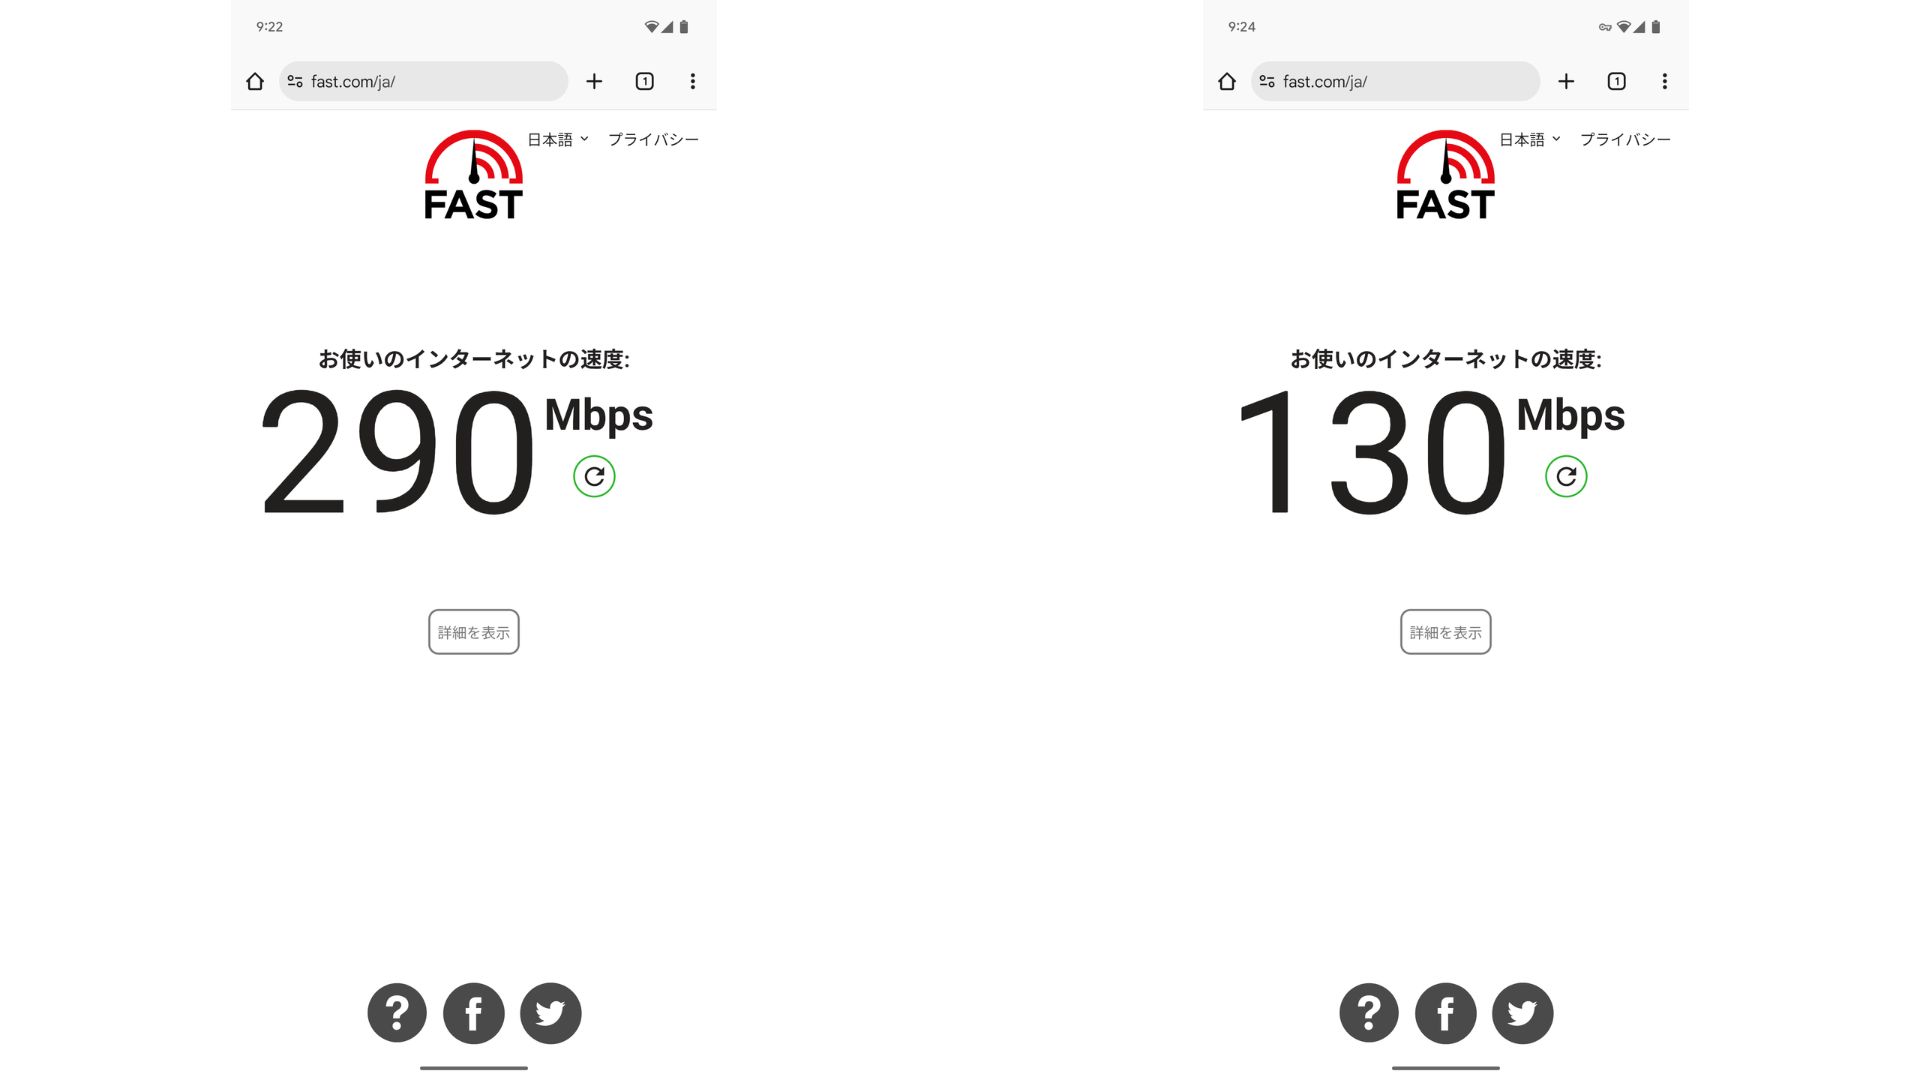
No-VPN स्थिति की तुलना में speed लगभग आधी रही, लेकिन यह फिर भी usable और comfortable level पर थी। इस performance का कारण ABLENET की stable network environment और Outline की lightweight design है।ABLENET VPS uses a shared 200Mbps line. Since 100Mbps is more common in general, it is fast.

Hikaru Ono
Thanks to ABLENET VPS, I was able to communicate at a very high speed.
ABLENET VPS की specs और pricing
| Server type | VPS |
| Connection speed | Shared 200Mbps |
| IPv4 | 1 address |
| IPv6 | 65,536 addresses |
| Traffic allowance | Unlimited |
| Recommended plan and contract term | V1 annual plan |
| Virtual CPU | 2 cores |
| Memory | 1.5GB |
| Storage | 40GB SSD or 100GB HDD |
| Trial / refund guarantee | 10-day free trial |
| Monthly price (12-month contract) | 968 yen |
| Initial admin fee | Free |
| Support | |
| Uptime | 99.99% or higher |
| OS | Ubuntu Server 22.04 LTS / Ubuntu Server 20.04 LTS / AlmaLinux 9.5 / AlmaLinux 8.10 / Rocky Linux 9.5 / Rocky Linux 8.10 / Oracle Linux 9.5 / Oracle Linux 8.10 / CentOS Stream8 / CentOS Stream9 / Minecraft Server(ubuntu/java/Integrated)/Rust Server(ubuntu)/Palworld Server(ubuntu)/ARK Server(ubuntu)/7days Server(ubuntu)/Valheim Server(ubuntu)/Ubuntu Desktop 22.04 with MT4/5/Ubuntu Desktop 22.04 with AutoGPT/ CentOS 7.9 and more |
सारांश
Outline VPN की मदद से, VPN का कभी उपयोग न करने वाले लोग भी कम समय में setup शुरू कर सकते हैं।
लेकिन क्योंकि VPNs सामान्यतः थोड़े slow होते हैं, इसलिए मैं ABLENET VPS जैसे stable और fast VPS पर इसे बनाने की recommendation करता हूं।
ABLENET VPS is a stable VPS with 99.99% uptime, even though it is affordably priced. It offers a wide range of plans, from the accessible V0 plan with 0.5GB of memory to the high-spec V5 plan with 16GB of memory, so you can find the right option for your needs.
10-day free trial