Easy Setup: Secure VPN Connections with Outline and XServer VPS
Do you want stronger internet security, but worry the setup will be difficult? Do you want to use Japanese services from overseas, but cannot access them? Have those concerns been on your mind?
That is exactly when a VPN connection becomes useful. If you want an inexpensive and easy way to use a VPN, I recommend the combination of Outline VPN and XServer VPS.
Outline VPN is an open-source VPN tool developed by Google, and its biggest strength is how simple it is to use. By using XServer VPS
![]() , provided by Xserver Inc., a major Japanese company known for high-performance and stable server environments, you can build your own comfortable and secure VPN environment.
, provided by Xserver Inc., a major Japanese company known for high-performance and stable server environments, you can build your own comfortable and secure VPN environment.
If you are thinking, "What is Outline VPN?" or "VPS sounds difficult...," do not worry. Once you read this article, you will be able to set up a VPN connection without getting lost and enjoy a safe and secure internet experience.
- Getting Started with XServer VPS: Outline VPN for Complete Beginners
- Easy to Use: Build Outline VPN on XServer VPS in 6 Steps
- Step 1: Prepare XServer VPS - Start Here
- Step 2: Install Outline Manager - Easy Setup
- Step 3: Build an Outline Server on the VPS with Outline Manager
- Step 4: Create Access Keys and Allow VPN Connections
- Step 5: Install the Outline Client - Works on Any Device
- Step 6: Connect to Outline VPN with the Issued Access Key
- Benefits and Use Cases of Outline VPN and XServer VPS
- Tips for Using Outline VPN More Comfortably
- Summary: Enjoy a Safe and Comfortable VPN Experience with Outline and XServer VPS
Getting Started with XServer VPS: Outline VPN for Complete Beginners
What Is Outline VPN? A Simple VPN Explained for Beginners
A VPN (Virtual Private Network) is a technology that creates an encrypted tunnel on the internet and prevents third parties from eavesdropping on or tampering with your communications. By routing traffic through a VPN server, it can also hide your real IP address and increase anonymity.
Outline VPN is designed to make this VPN connection process extremely simple.
Outline is a free, easy-to-use application for connecting to a VPN, provided by Jigsaw, part of Google. Even if you have never launched a VPN before, you can start using one in just a few clicks.
It does not require difficult technical knowledge. The goal is to make VPN use as easy as installing an app and pressing a button to finish the connection.
Why Outline VPN and XServer VPS Are Such a Strong Combination
Outline VPN itself is simple and easy to use, but the server that supports it is just as important. That is where XServer VPS
![]() comes in.
comes in.
XServer VPS
![]() is a VPS service from a long-established, high-speed rental server with the No. 1 domestic market share. It offers everything from an affordable 2GB plan to large-capacity 8GB plans. Because it provides phone and email support, even people with no VPS experience can use it casually for VPN connections or website creation.
is a VPS service from a long-established, high-speed rental server with the No. 1 domestic market share. It offers everything from an affordable 2GB plan to large-capacity 8GB plans. Because it provides phone and email support, even people with no VPS experience can use it casually for VPN connections or website creation.
XServer VPS
![]() stands out for its fast and stable network environment as well as its strong support system. Managing your own server does take some work, but when you combine it with Outline VPN, you gain the following advantages.
stands out for its fast and stable network environment as well as its strong support system. Managing your own server does take some work, but when you combine it with Outline VPN, you gain the following advantages.
- Reliable domestic location: Because the server is located in Japan, you can use it with confidence.
- High security: Because you manage it yourself, you can apply security measures properly.
- Stable communication speed: Because you can use Xserver's high-performance infrastructure, you can expect comfortable connection speeds.
- Cost performance: Compared with rental VPN services, it can be more economical over the long term. The longer the contract, the cheaper it becomes.
Building your own VPN server may sound difficult, but with Outline Manager, you can set it up easily by entering just a few commands.
Easy to Use: Build Outline VPN on XServer VPS in 6 Steps

Now let me walk you through the actual steps for building Outline VPN on XServer VPS
![]() .
.
Step 1: Prepare XServer VPS - Start Here
If you have not signed up for XServer VPS
![]() yet, start by completing the contract.
yet, start by completing the contract.
Preparing XServer VPS
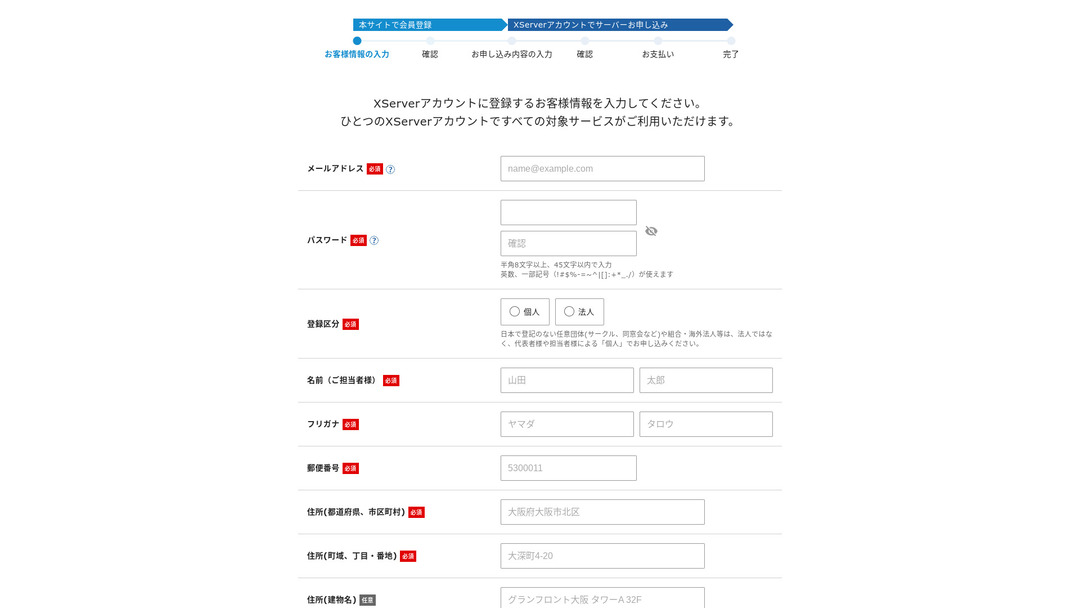
STEP.1: Create an account on the official XServer website
Go to XServer VPS
 . Click Apply now. If you do not already have an account, choose Start now! New application.
Enter your email address, name, and other required information to complete registration.
STEP.2: Apply for a server in your XServer account
Choose the VPS plan that matches your needs. If this is your first time, it is best to start with a relatively affordable plan. The 12-month 2GB plan is a good value at the campaign price.
STEP.3: Complete the contract procedure
Follow the on-screen instructions to finish the contract process.
STEP.4: Choose the server OS
On the screen where you choose the server OS, I strongly recommend selecting the latest stable version of Ubuntu or Debian. Those are the recommended environments for Outline VPN, and setup will go more smoothly.
STEP.5: Initial setup
After the contract is complete, log in to Xserver's server panel and carry out the initial VPS setup. This includes setting the hostname and the root password. Make sure to choose a strong root password and store it safely so you do not forget it.
STEP.6: Confirm SSH access
To configure the VPN server, you need to connect to the VPS over SSH.
- For Windows: Install an SSH client such as Tera Term, then confirm that you can connect using the VPS IP address, the port number (usually 22), the username (root), and the password.
- For macOS/Linux: Open Terminal and run
ssh root@your-vps-ip-address. On your first connection, you may see a security confirmation message, so type yes. Then enter the root password you set.
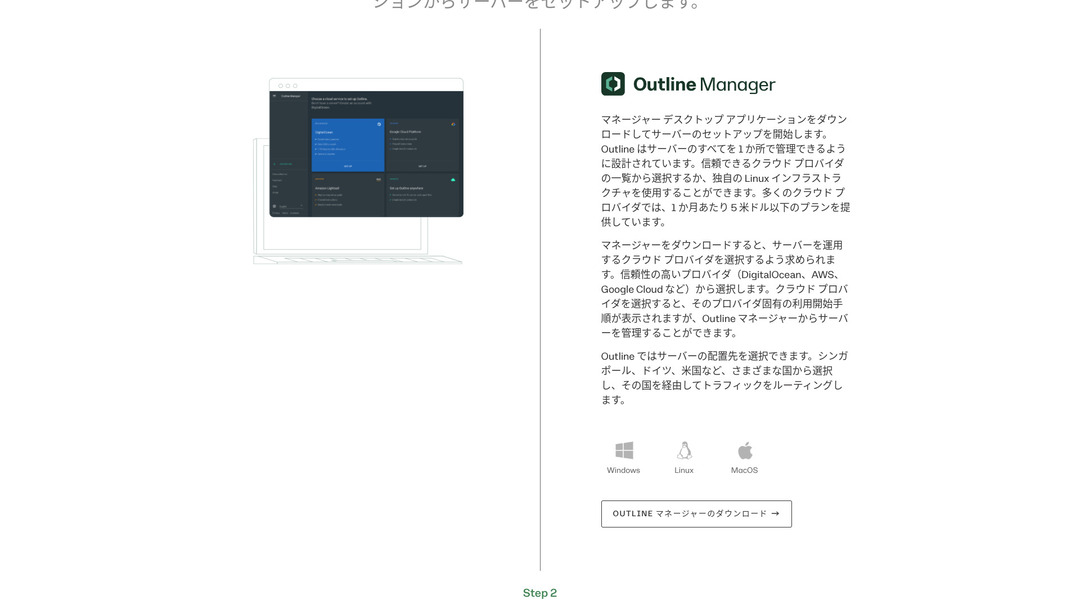
Step 2: Install Outline Manager - Easy Setup
Next, install Outline Manager on your PC so you can configure and manage the VPN server.
Install Outline Manager
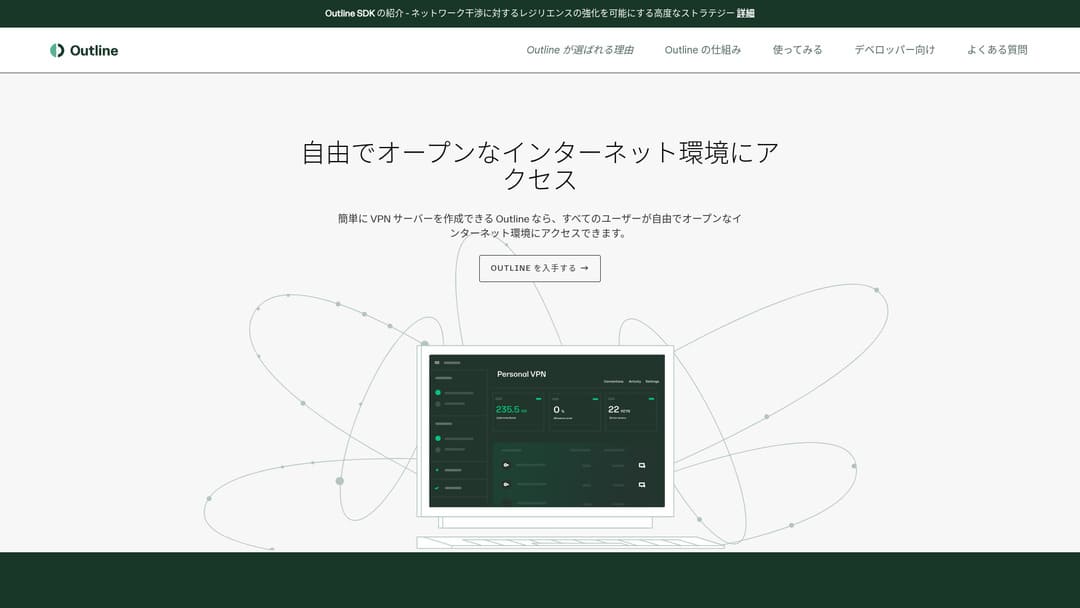
STEP.1: Go to the official Outline website
Visit Outline.
STEP.2: Download Outline Manager
From the Get Outline Manager section, download the version of Outline Manager that matches your PC operating system (Windows, macOS, or Linux).
STEP.3: Install it
Run the downloaded file and follow the on-screen instructions to install Outline Manager.
Step 3: Build an Outline Server on the VPS with Outline Manager
Use Outline Manager to install an Outline server on XServer VPS
![]() .
.
Build an Outline server on the VPS with Outline Manager
STEP.1: Launch Outline Manager
After installation is complete, launch Outline Manager.
STEP.2: Click Set up server
When you launch it for the first time, the server setup screen appears. Click Set up server.
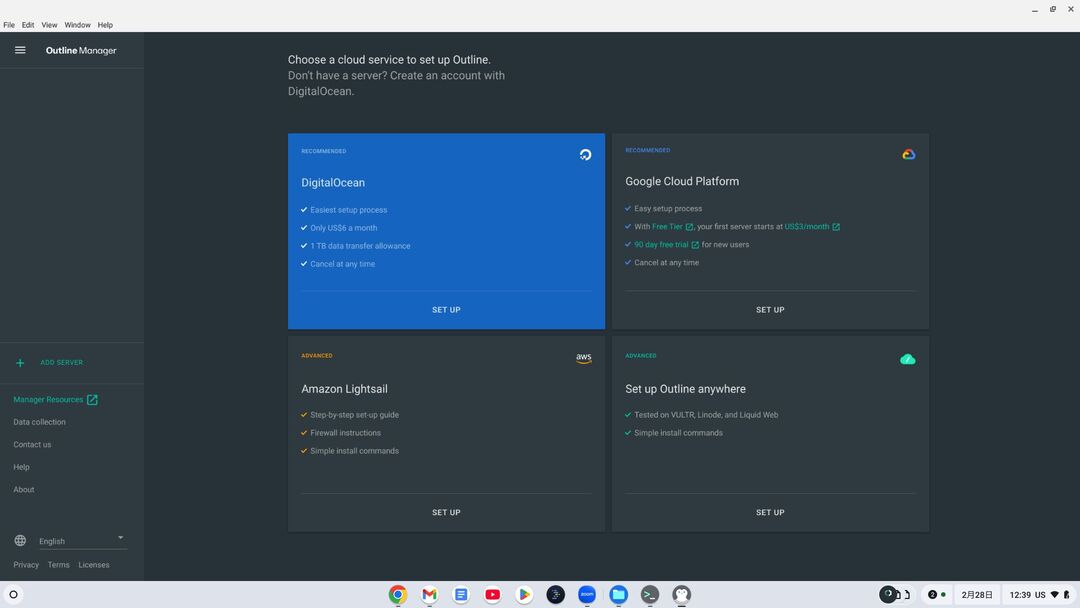
STEP.3: Choose Use your own server
You will be shown a cloud provider selection screen, but choose Set up Outline anywhere and use your own server.
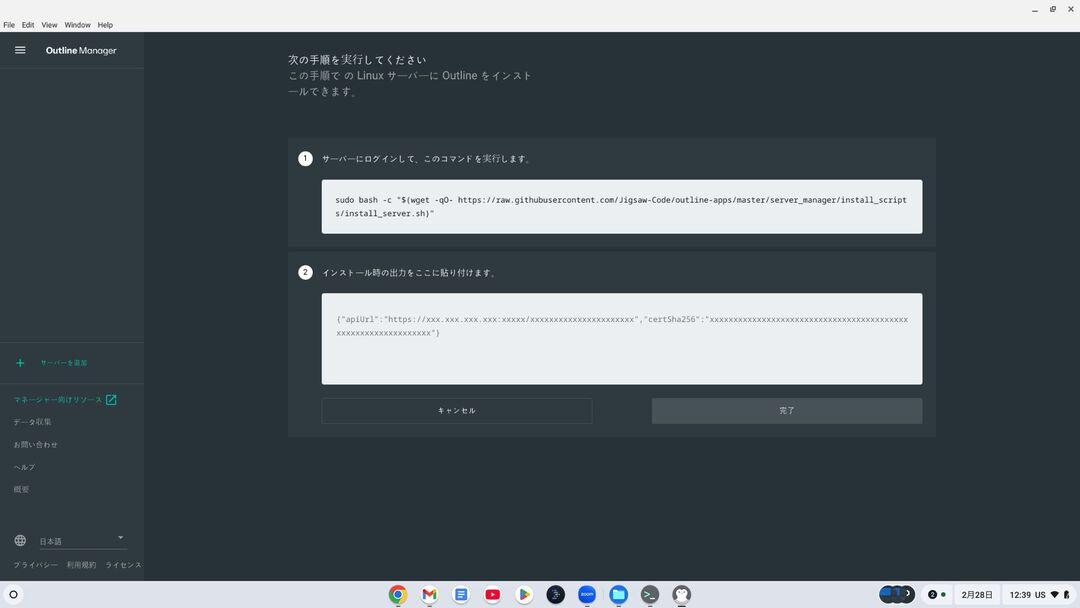
STEP.4: Copy the installation command
A command for installing the Outline server on your VPS will appear on the screen. Select the entire command and copy it.
STEP.5: Connect to the VPS over SSH
Paste the copied installation command into the terminal or command prompt connected over SSH and press Enter to run it.
STEP.6: Run the command
- The installation can take several minutes. Read the messages on the screen carefully and wait until it finishes.
- You may be asked a few questions during the process, but in most cases it is fine to press Enter and accept the default choice.
STEP.7: Enter the information into Outline Manager
When the installation finishes, Outline Manager displays a screen where you enter the server details.
- Administrator API URL: The API URL generated during VPS installation is shown. In most cases it is reflected in Outline Manager automatically, but if it is not shown, copy and paste the API URL displayed in the SSH terminal.
- Server location (optional): You can enter the server location, such as Tokyo, Japan. This is only for management purposes and does not affect the connection.
STEP.8: Click Done with server
After entering all the information, click Done with server.
Step 4: Create Access Keys and Allow VPN Connections
Once the Outline server has been built, create the access keys that are needed for actual VPN connections.
Create access keys and allow VPN connections
STEP.1: Check the Outline Manager screen
On the Outline Manager screen, you will see one default access key.
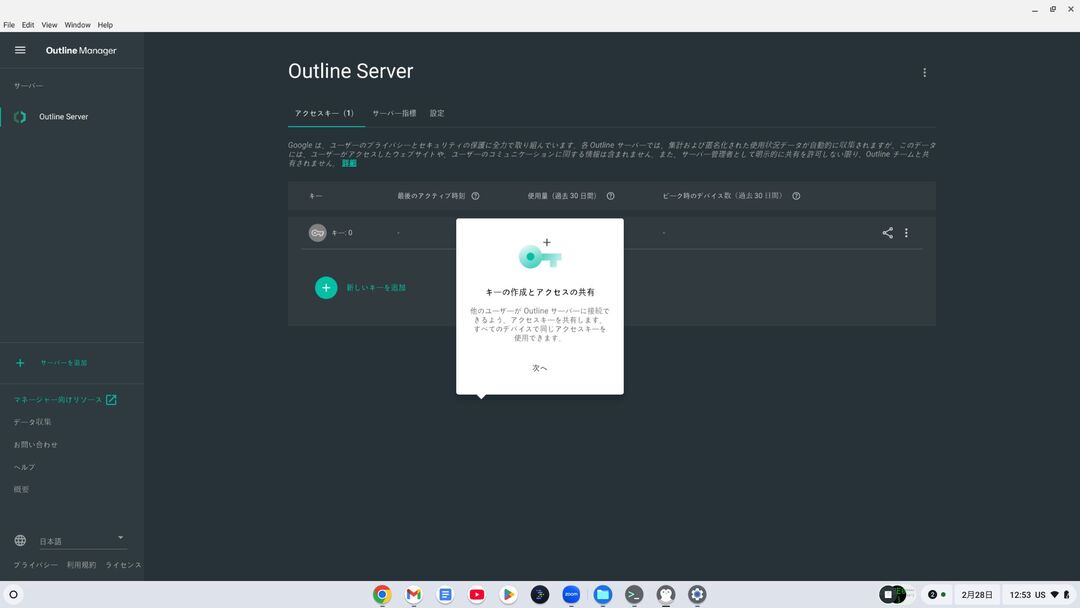
STEP.2: Add a new access key if needed
If you want to create a new access key, click the Add new key button.
STEP.3: Rename the access key if you want
You can rename the access key you created to match the device or user that will connect. Select the key, click Edit name, and change it.
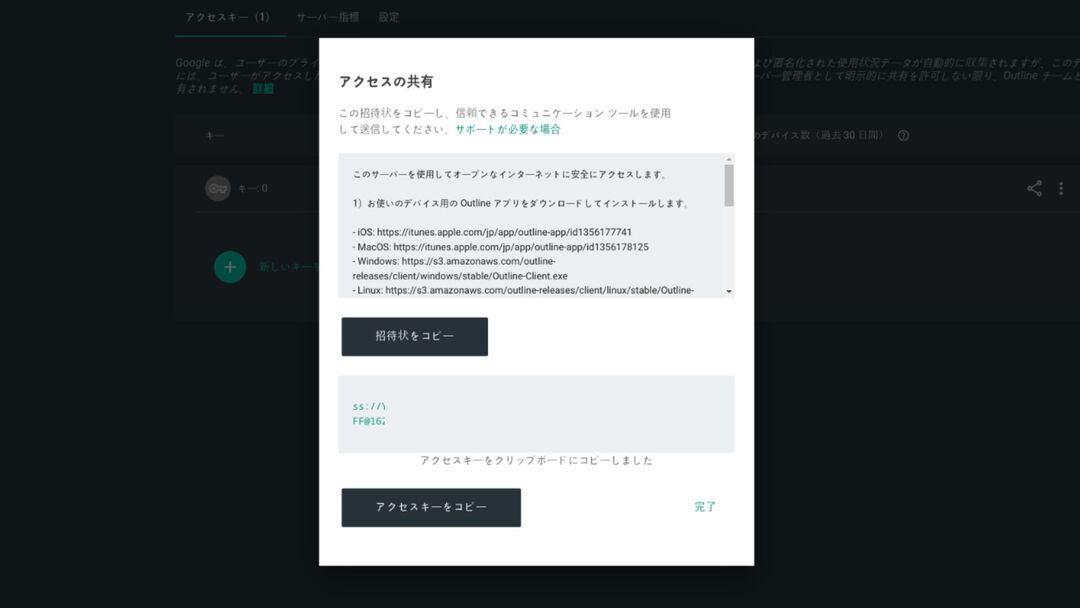
STEP.4: Share the access key
The access key you create is required when you connect with the Outline client. When you select the access key, a button labeled Share invite appears. Click it to copy the access-key URL, then share that URL with the device you want to connect.
Step 5: Install the Outline Client - Works on Any Device
Install the Outline client on the device that will connect to the VPN, such as a PC, smartphone, or tablet.
Install the Outline client
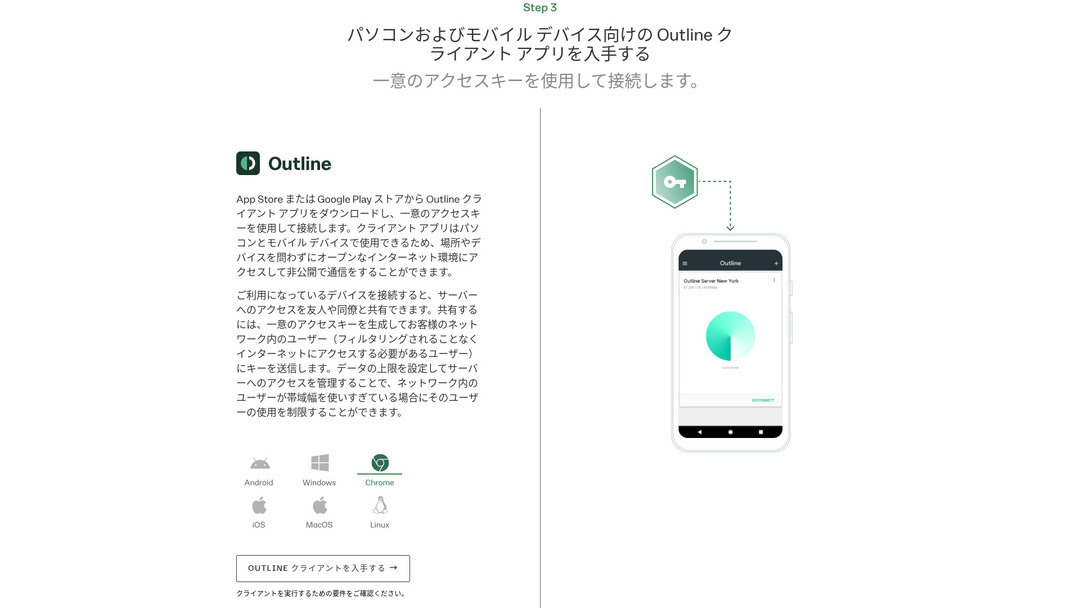
STEP.1: Go to the official Outline website
Visit Outline.
STEP.2: Download the Outline client
From the Get Outline Client section, download and install the Outline client for your device's operating system.
- PC (Windows, macOS, Linux): Run the downloaded file to install it.
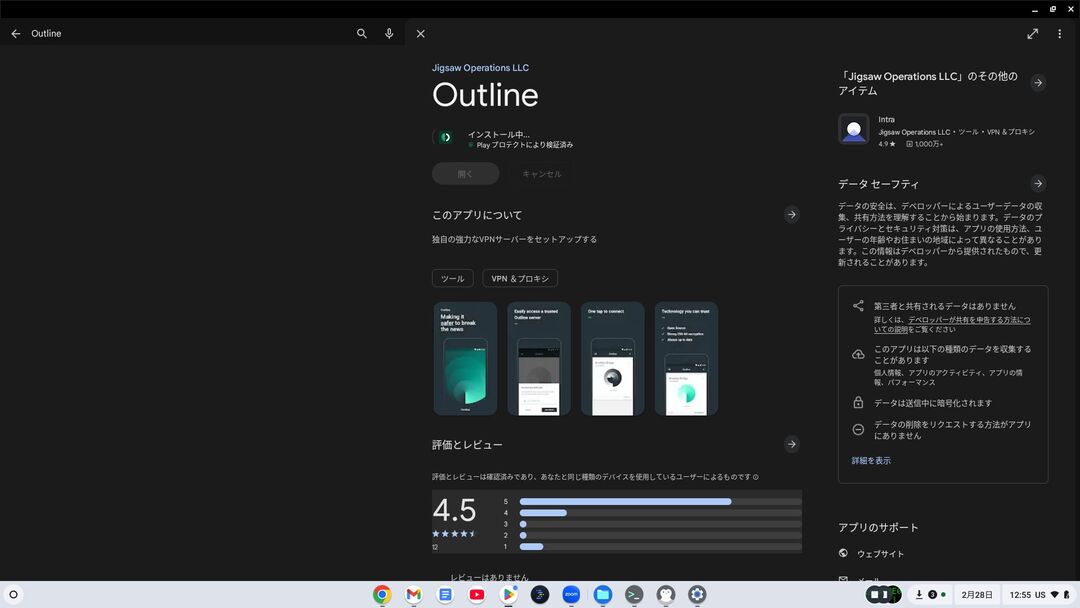
- Smartphone / tablet (Android, iOS): Search for Outline in the App Store or Google Play Store and install it.
Step 6: Connect to Outline VPN with the Issued Access Key
Once the Outline client is installed, it is time to connect to the VPN.
Connect to Outline VPN with the issued access key
STEP.1: Launch the Outline client
Launch the Outline client you installed.
STEP.2: Add the access key
- For PC: Click Add server or a similar button, paste the access-key URL you copied in Step 4, and click Add server.
- For smartphone / tablet: When you launch the app, it may ask you for an access key. Copy and paste the access-key URL shared in Step 4. If a QR code is shown, you can also scan it.
STEP.3: Connect
Once the server has been added, a connect button appears. Click it to start the VPN connection.
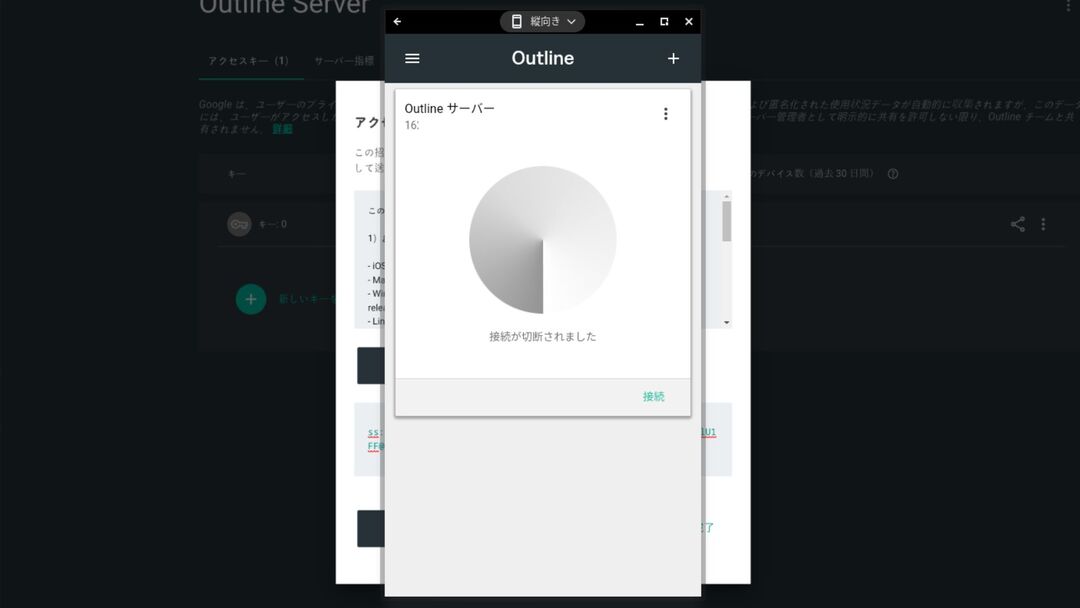
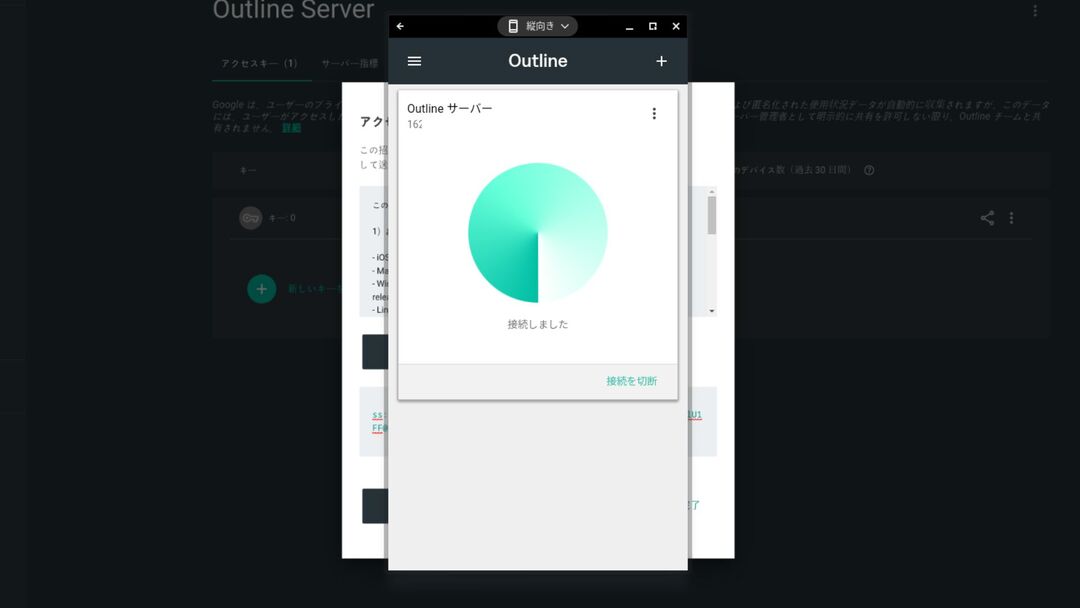
STEP.4: Confirm the connection
When the connection succeeds, the Outline client shows Connected, and a VPN icon appears in the status bar at the top of the screen or in a similar location.
With that, your VPN connection using Outline VPN and XServer VPS
![]() is complete. Your internet traffic is encrypted, making it safer, and it is routed through the server location you selected.
is complete. Your internet traffic is encrypted, making it safer, and it is routed through the server location you selected.
Benefits and Use Cases of Outline VPN and XServer VPS
How Fast Is It? How Stable Is It? A Full Look at the Benefits of Outline VPN
Outline VPN is based on the Shadowsocks protocol, so you can expect communication that is relatively lightweight and fast.
By using the high-performance infrastructure of XServer VPS
![]() , you can achieve an even more stable communication environment. Still, you should understand that VPN speed can vary depending on physical distance and network congestion.
, you can achieve an even more stable communication environment. Still, you should understand that VPN speed can vary depending on physical distance and network congestion.
Access Safely from Anywhere: Use Cases for Outline VPN
- Security on public Wi-Fi: Public Wi-Fi in places such as cafes and hotels can be weak on security. By using a VPN connection, you encrypt your communications and prevent third parties from eavesdropping on them.
- Bypassing access restrictions from overseas: If you want to access services or content that are available only in Japan while you are abroad, routing your connection through a VPN server in Japan may make that possible.
- Privacy protection: By routing traffic through a VPN server, you can hide your real IP address and make it harder for websites and advertising trackers to follow you.
- Bypassing censorship: In some countries and regions, internet censorship may be in place. Using a VPN may help you get around those restrictions.
Comfortable Access from Overseas Too: Bypass Regional Restrictions
By using Outline VPN and XServer VPS
![]() , you can build a VPN server in a location you choose yourself. For example, if you want to use Japanese services from overseas, you can route your traffic through a VPS server in Japan so that it appears as if you are accessing the service from inside Japan.
, you can build a VPN server in a location you choose yourself. For example, if you want to use Japanese services from overseas, you can route your traffic through a VPS server in Japan so that it appears as if you are accessing the service from inside Japan.
As a result, you may be able to use content that had been unavailable because of regional restrictions.
Tips for Using Outline VPN More Comfortably

How to Use It on Multiple Devices - Share with Family or a Team
The access key you create can be shared and used on multiple devices.
By issuing a new access key in Outline Manager and adding it to the Outline client on another device, you can easily use the VPN connection across multiple devices. This is convenient when you want to share a VPN with family members or a small team.
Check and Manage Data Usage - Prevent Overuse
In Outline Manager, you can check the data usage for each access key.
This lets you see who is using how much data, and you can also set data limits if needed. By setting limits, you can prevent unintended overuse of bandwidth.
Recommended Settings to Improve Security Even Further
- VPS security measures: Review the firewall settings on XServer VPS
and close unnecessary ports. It is also important to keep the operating system and software fully up to date.
- Strong passwords: Set strong, hard-to-guess passwords for the VPS root account and the Outline Manager access keys.
- Two-factor authentication: Enable two-factor authentication for your Xserver account and VPS login wherever possible.
Summary: Enjoy a Safe and Comfortable VPN Experience with Outline and XServer VPS

Outline VPN provides powerful VPN functionality that goes far beyond what its simple interface might suggest. Because Outline Manager handles the difficult setup automatically, even beginners can build and use a VPN environment with confidence.
When you combine it with XServer VPS
![]() , the flexibility of Outline VPN increases even more. You can place your VPN server wherever you want and use stable, high-speed communication.
, the flexibility of Outline VPN increases even more. You can place your VPN server wherever you want and use stable, high-speed communication.
Use this article as your guide, and try building a safe and comfortable internet environment of your own with Outline VPN and XServer VPS
![]() .
.